Midjourney Camera Shots
Creating photorealistic images in Midjourney is now easier than ever. Here’s how you can achieve stunning results:
1. Give the right prompt:Ensure your initial description is clear and detailed.
2. Add the right tokens
Lighting: Specify the type of lighting you want (e.g., natural light, studio lighting, etc.).
Camera Shots: Camera Shots: Choose the appropriate shot type (e.g., long shot, close up shot)
Film Types: Mention any specific film styles or effects you prefer (e.g., black and white, vintage).
These images can be perfect for:
- Social Media: Enhance your posts with high-quality visuals.
- Blog Posts: Make your articles more engaging and visually appealing.
- Projects: Use these images to add a professional touch to your creative work.
Types of Camera Shots
- Extreme Long Shot
- Long Shot
- Medium Shot
- Close-up shot:
- Extreme close-up shot
Exreme Long Shot
An extreme long shot shows a large area from a very far distance. It helps the viewer see the entire setting or scene clearly.
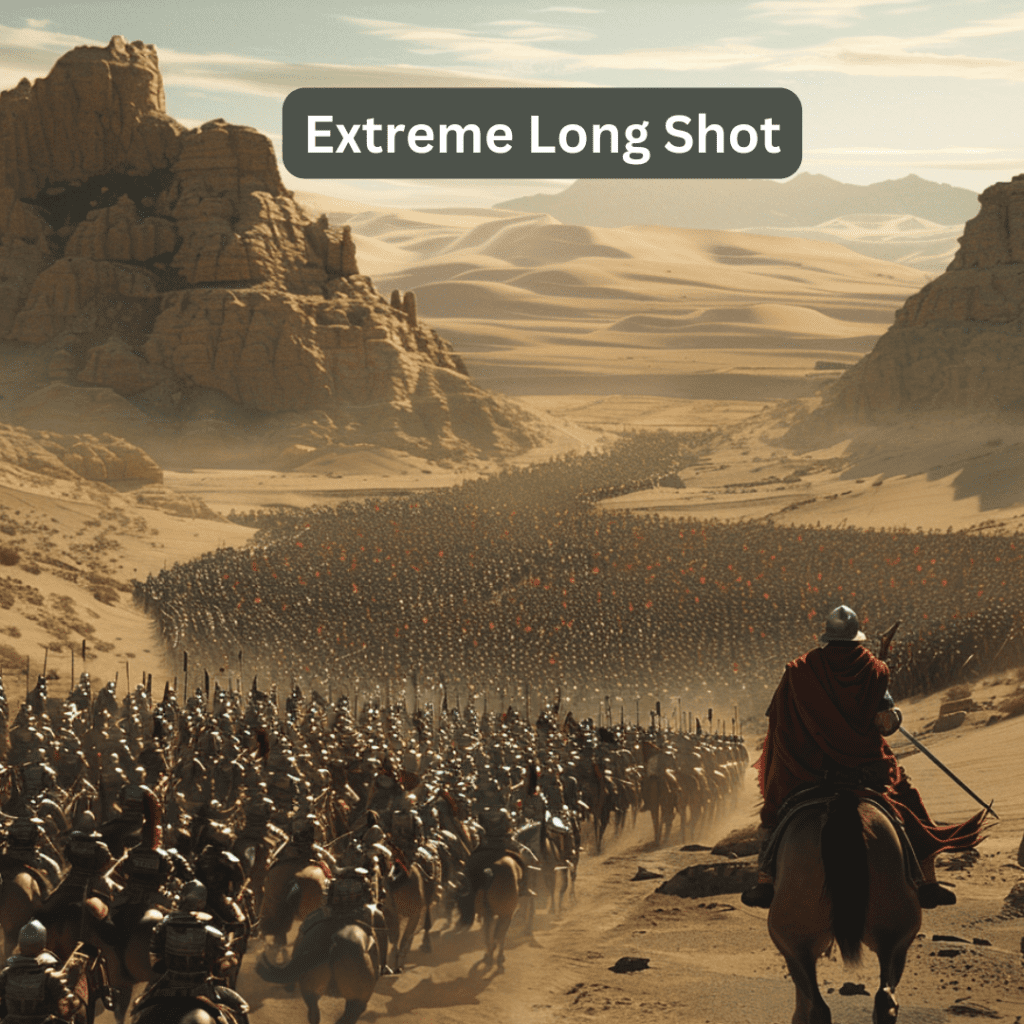
Prompt: Create an extreme long shot of a grand historical scene featuring Alexander the Great leading his army across a vast desert landscape.
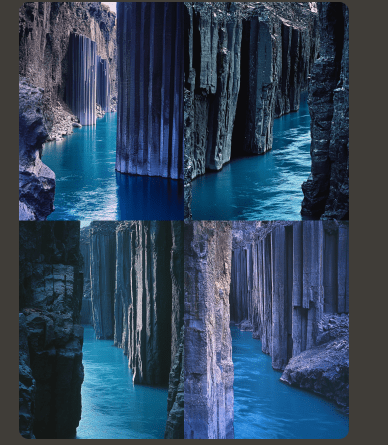

Conclusion : Both prompts use the same type of shot—an extreme long shot—but the images turned out differently because of how much of the environment was described.
In Prompt 1, there’s no mention of the sky, so the image feels more focused on the water and rocks. In Prompt 2, by adding the sky and atmosphere, the image feels much larger and more cinematic.
By adding the sky and atmosphere, the image feels much larger and more cinematic.
If you want a cinematic look:
To create a more cinematic feel in your MidJourney images, make sure to include details about the sky or other elements like shadows or mist. These small touches make a huge difference in how the image feels and what it communicates.
By understanding how different prompt details affect the final result, you can better control the type of images you create—whether you want something close-up and intense or wide and cinematic.
Long Shot
Shows the subject from top to bottom,shows the entire area where the action takes place. The whole subject is in frame.
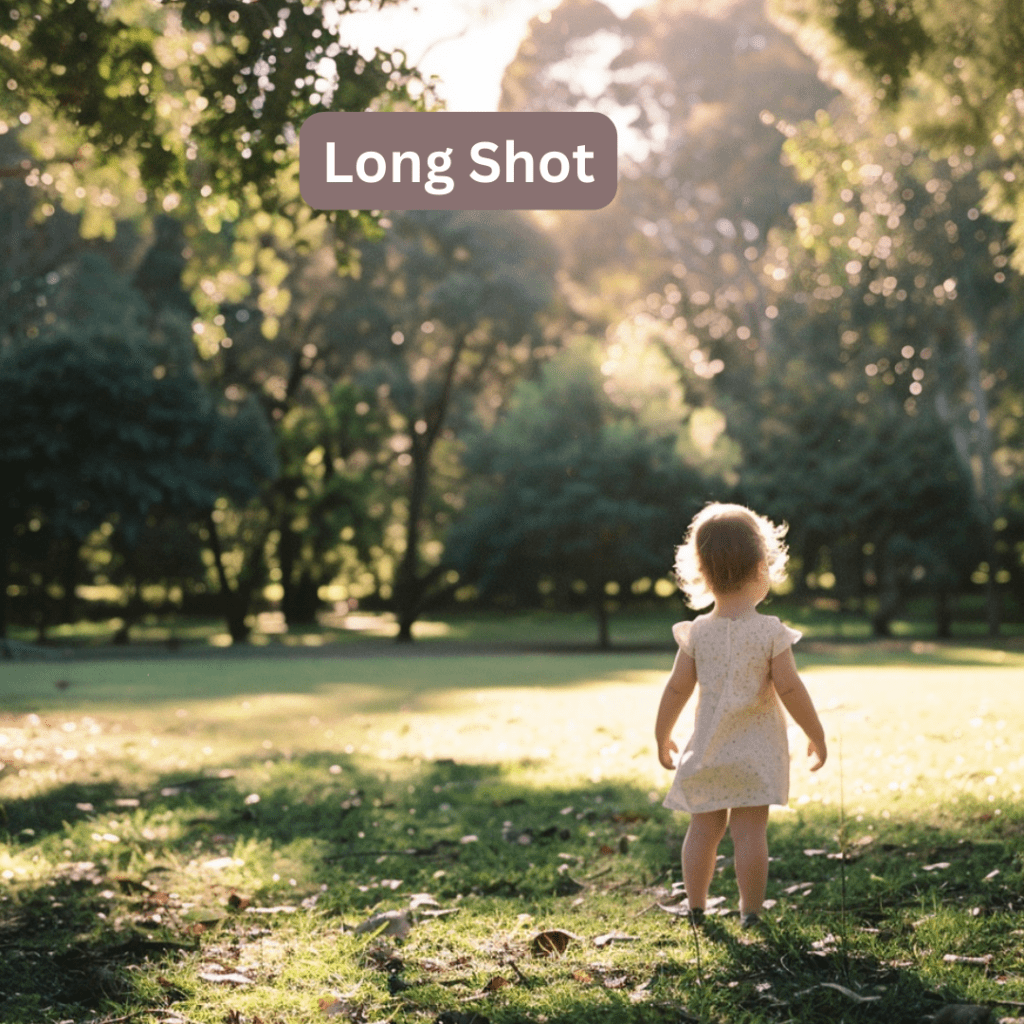
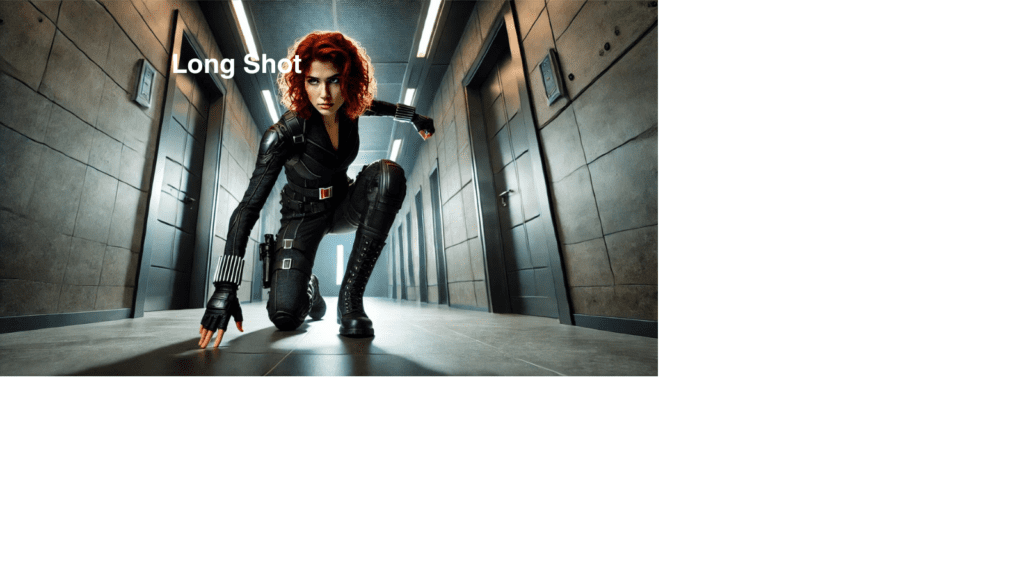
Sometimes, a long-shot prompt doesn’t work. Imagine you want to create an image of a couple walking; in that case, you use the below prompt for the same.
If you use the action word walking, MidJourney understands it better to show a full-body shot and a slightly faraway image, which will include the road and surroundings.
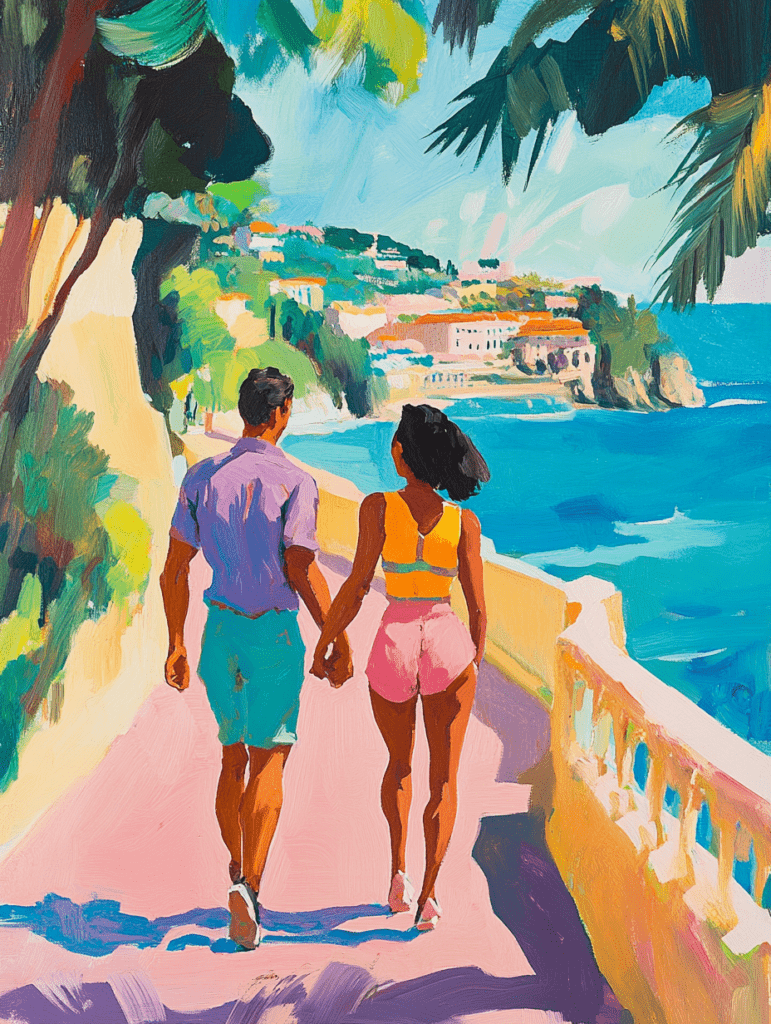
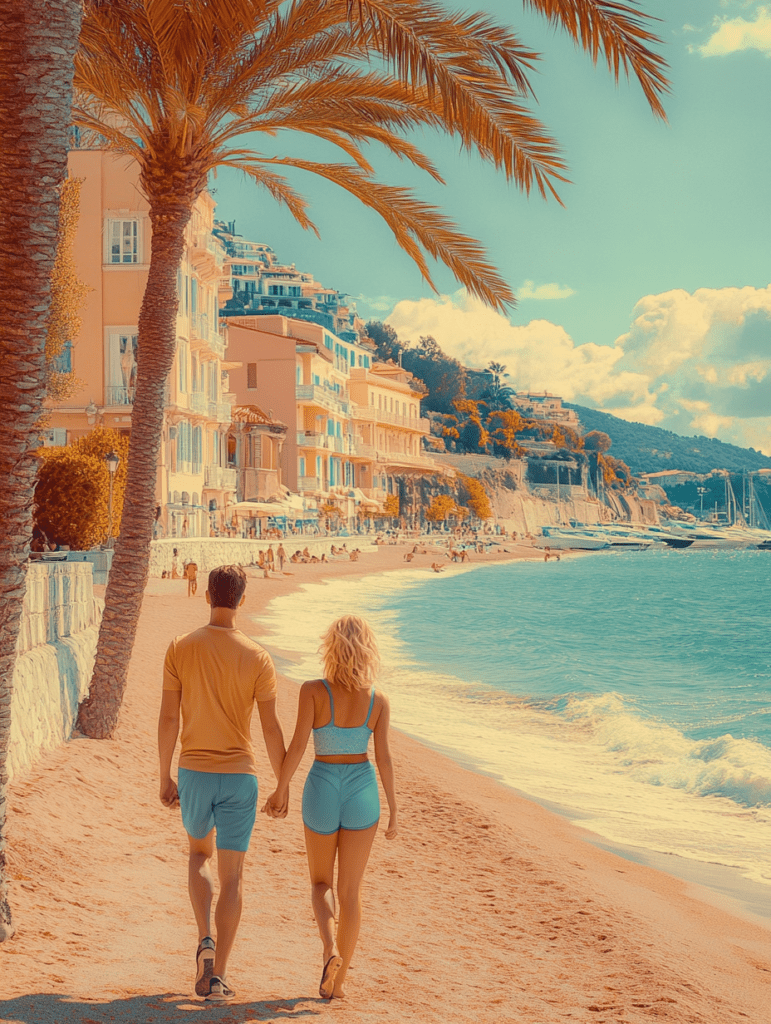
Prompt: a man and women holding hands, walk along the Riviera promenade., gym wear –ar 3:4
Medium Shot
A camera shot which shows approximately
half of the subject’s body.
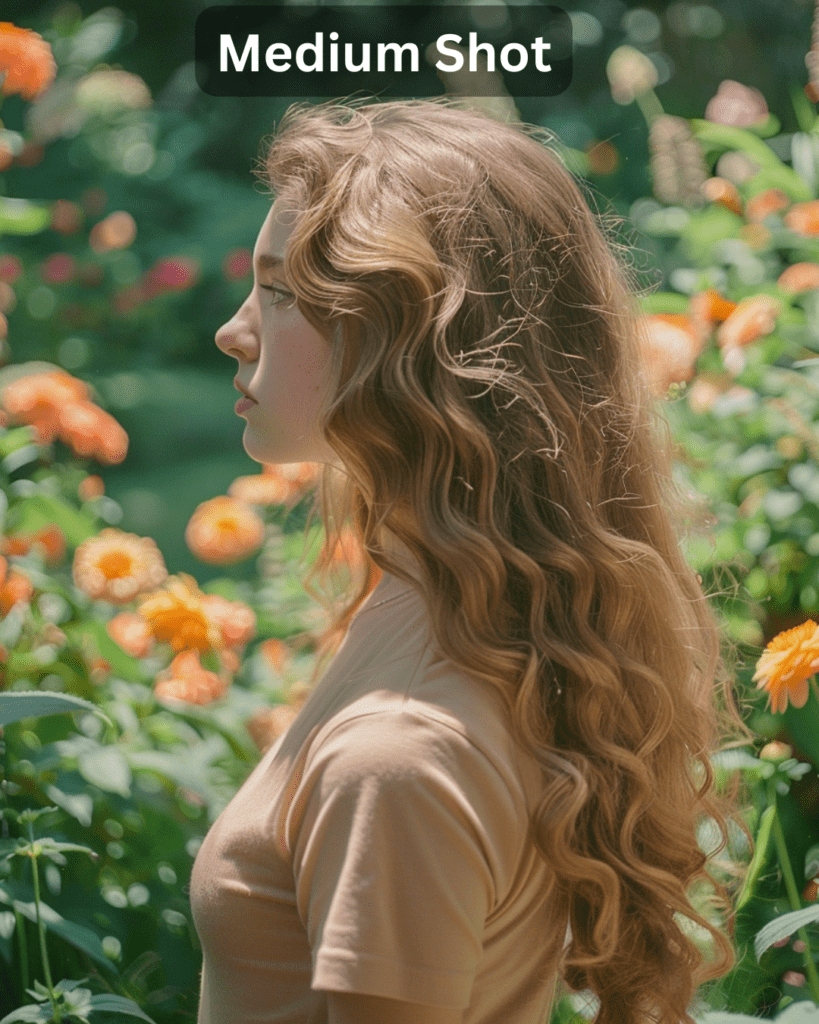
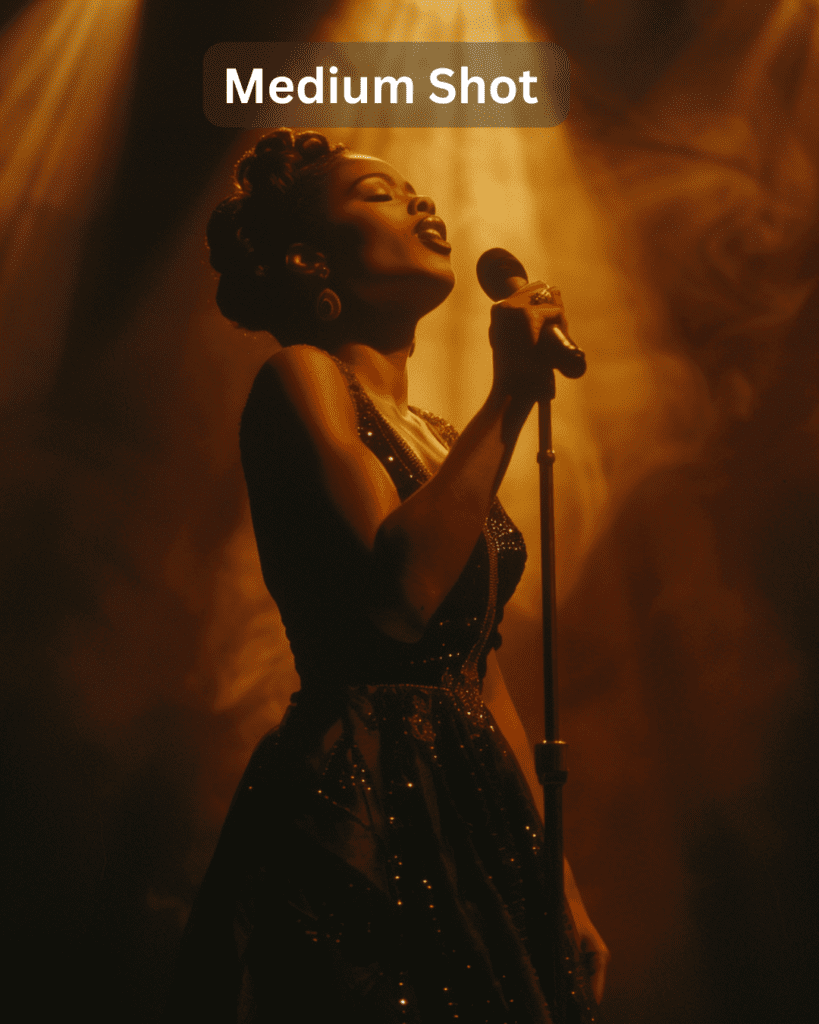
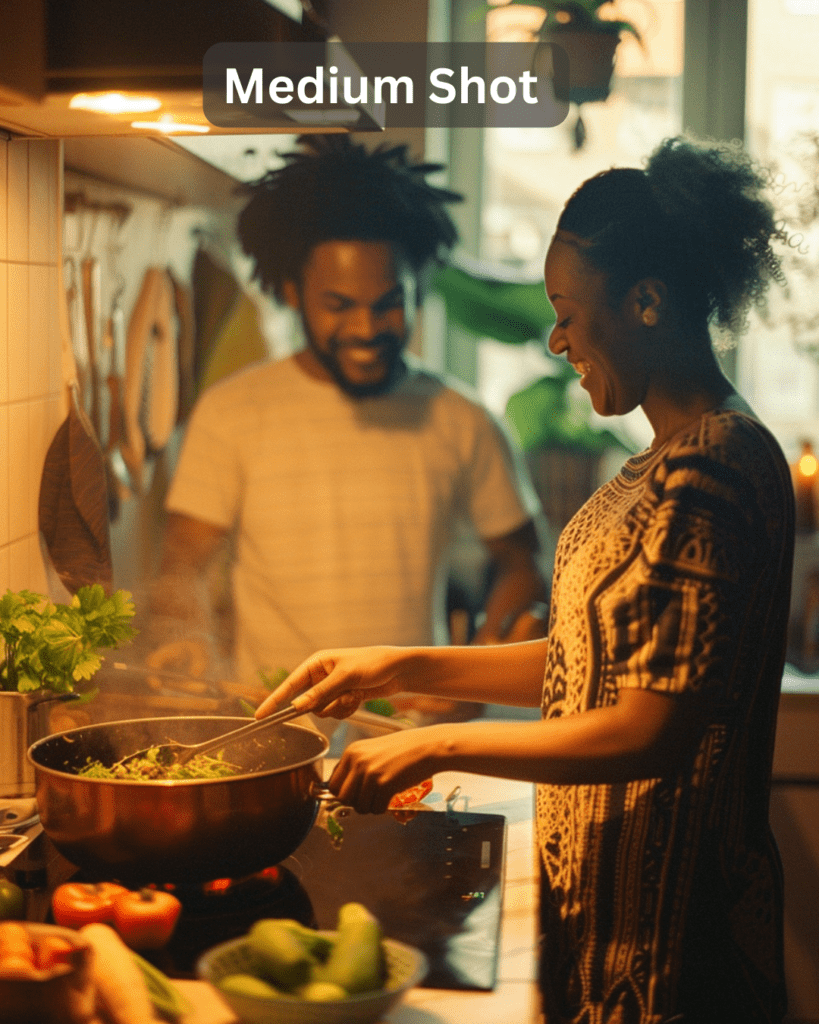
PROMPT: A medium shot of a couple cooking together in a cozy kitchen. They are both smiling as they prepare a meal, with the woman stirring a pot and the man chopping vegetables. They are dressed casually, with warm lighting creating a comfortable and intimate atmosphere. The scene captures their teamwork and happiness,kodak Potra 400 –ar 3:4
.
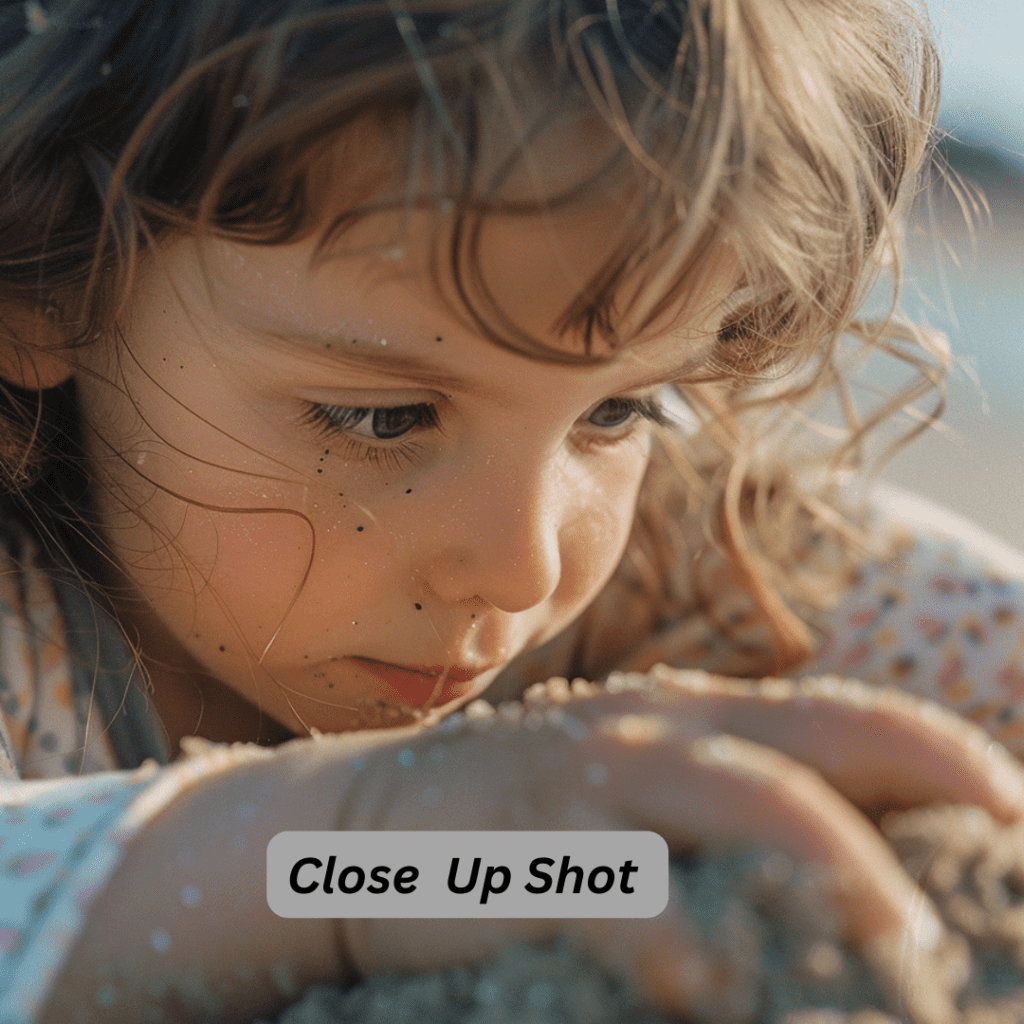
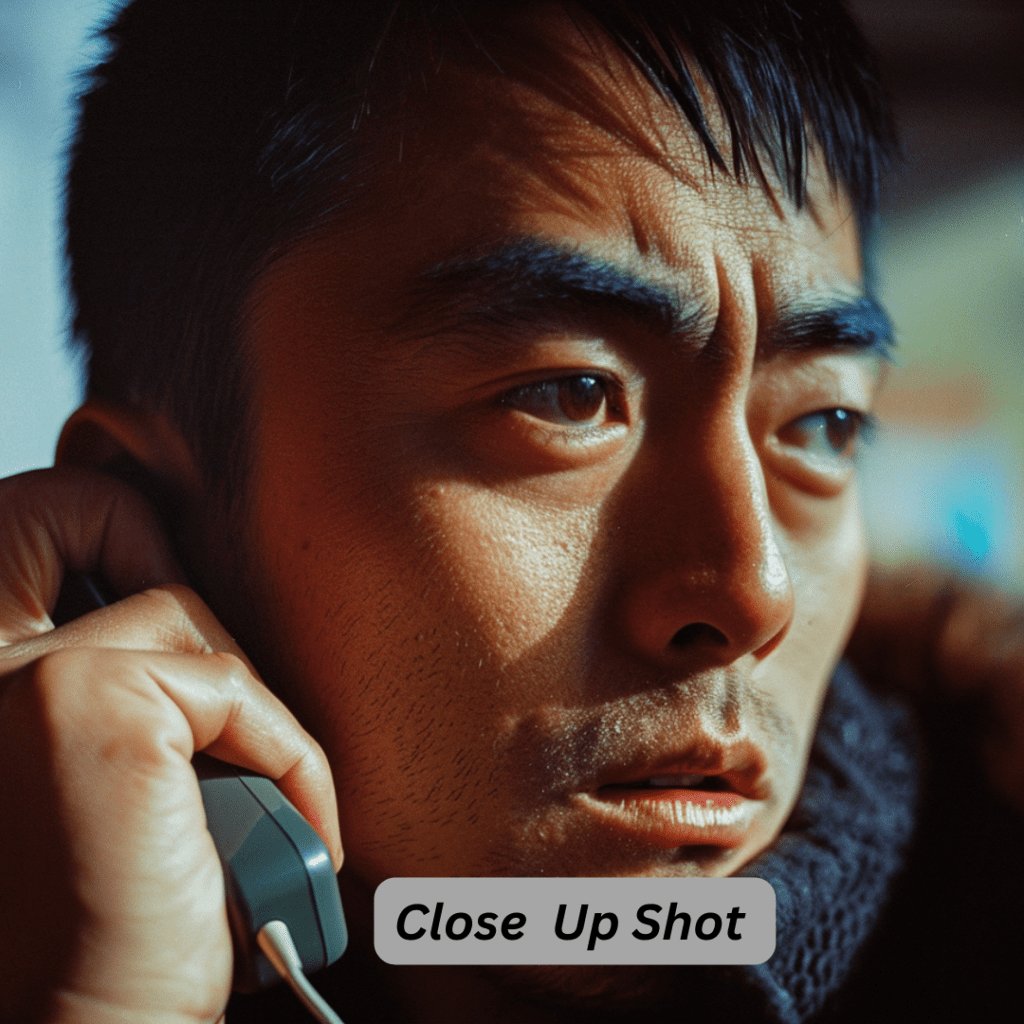
Close Up Shot
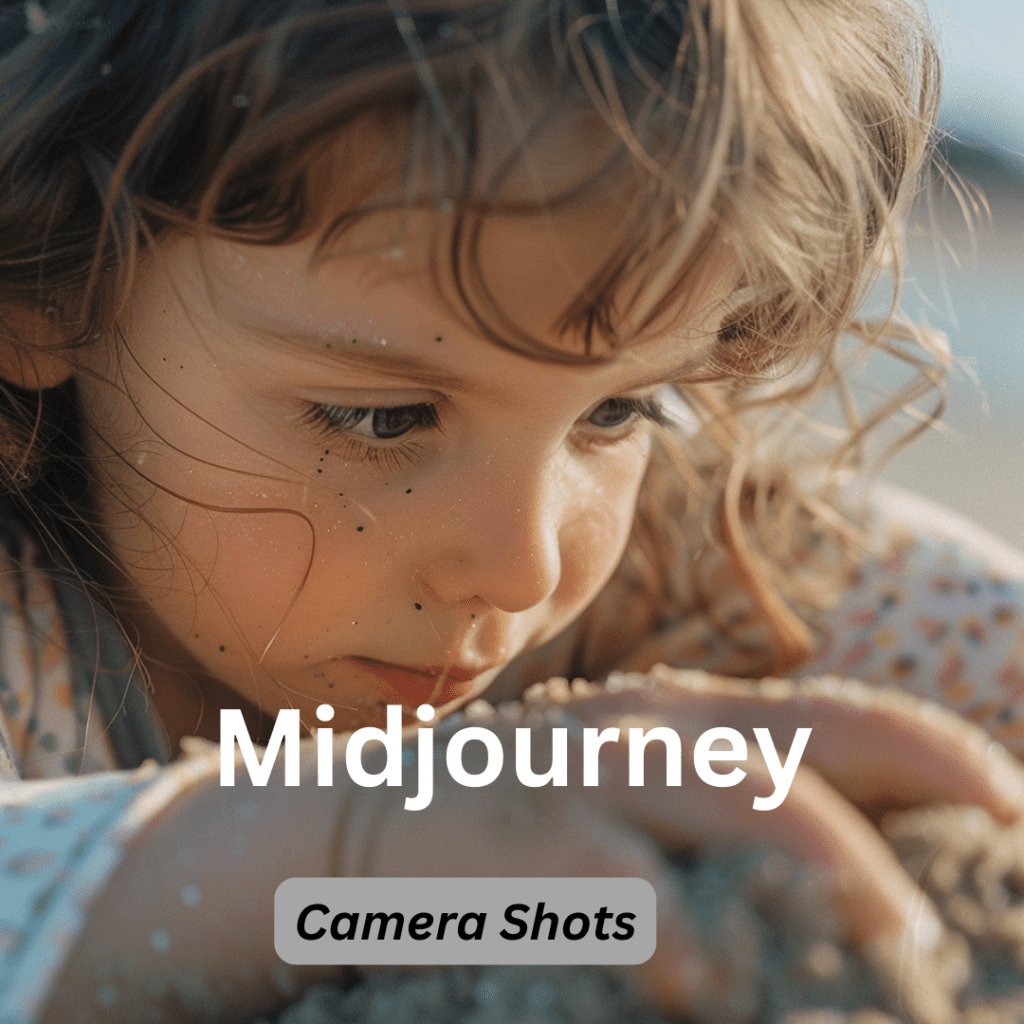
A camera shot where a small object or a face completely fills the screen.Framed this tightly, the emotions and reactions of a character dominate the scene.
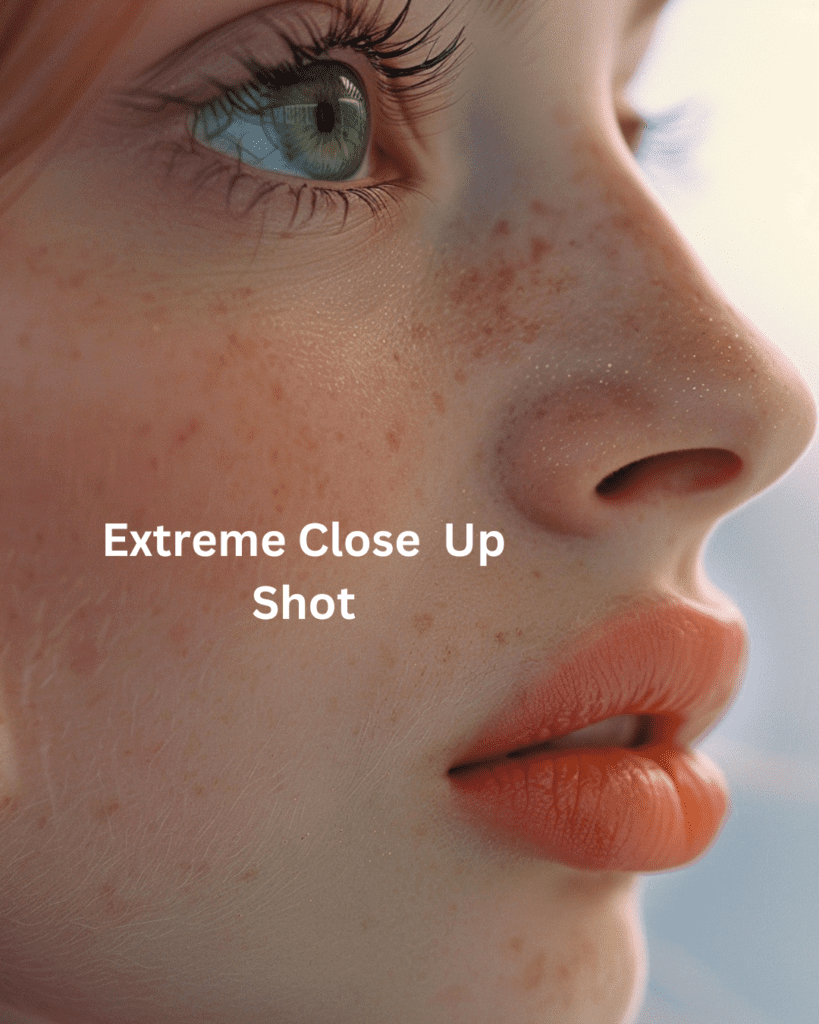
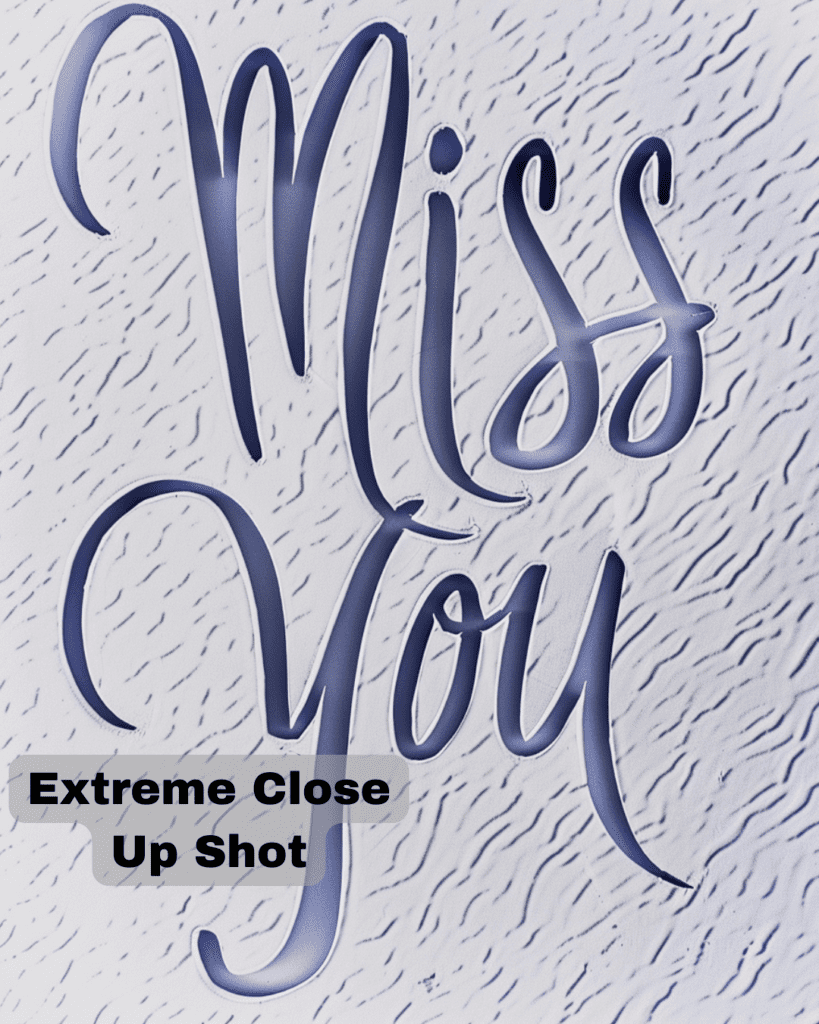
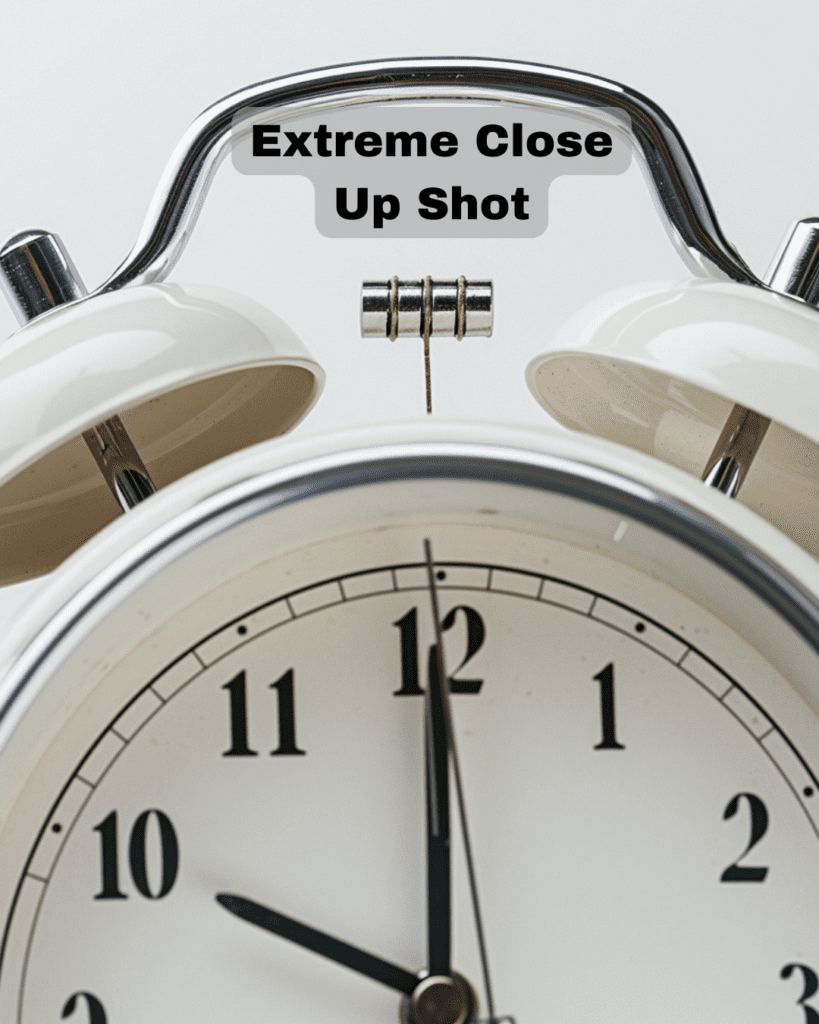
Extreme Close Up Shot
An extreme close-up shot captures a small detail of the subject, like part of a face, hand, or foot
Flat lay Shot
Understanding Flat Lay Photography
Flat lay photography has become extremely popular in digital content creation, both for real photography and AI-generated images. This technique creates visually appealing compositions that showcase items from a unique perspective. Let’s explore what makes a flat lay and how to create or prompt for effective ones.
What is Flat Lay Photography?
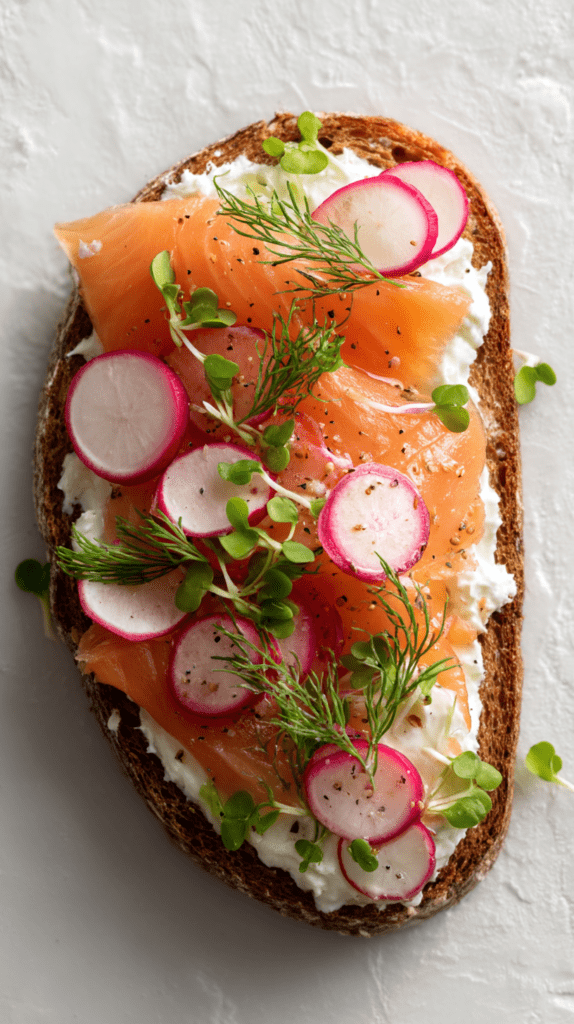
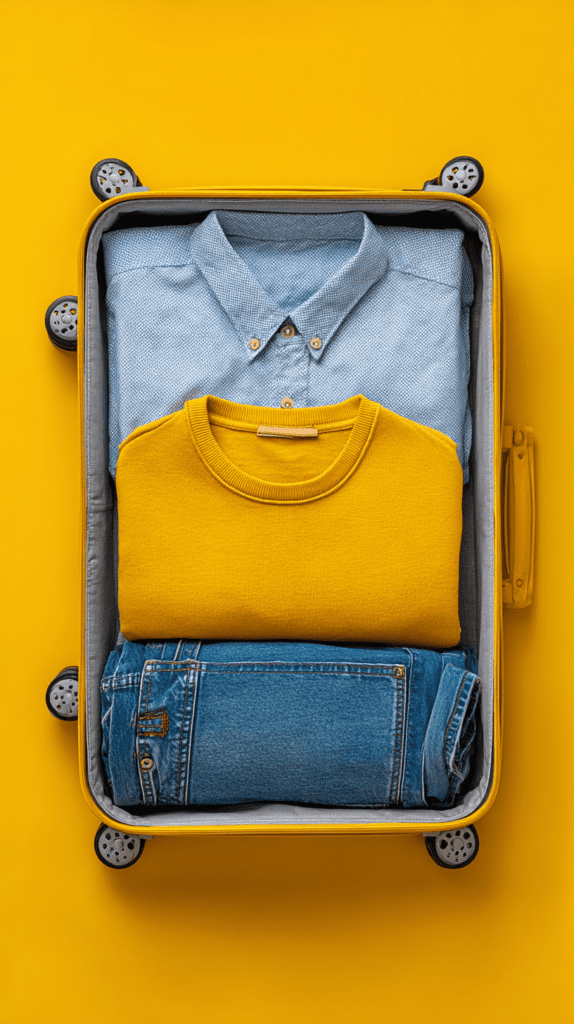
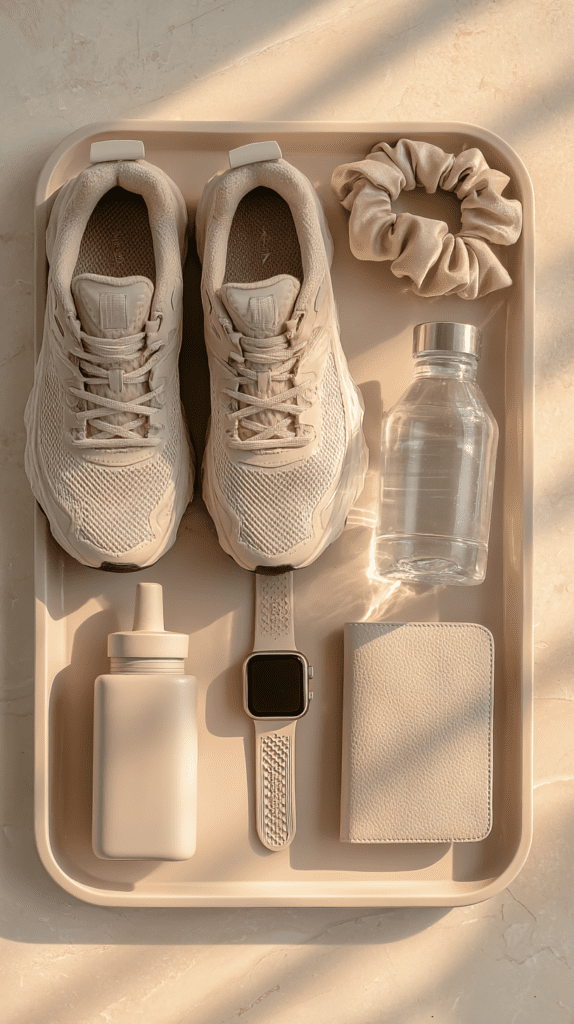
Flat lay photography is a technique where items are arranged on a flat surface and photographed from directly above. The name comes from the fact that objects are “laid flat” and captured from an overhead perspective.
Key Elements of Flat Lay Photography
Looking at our smoked salmon sandwich example:
- Top-Down Perspective: The camera position is directly above, looking straight down at the subject
- Flat Surface: Items are arranged on a flat background (in this case, a white surface)
- Deliberate Arrangement: Elements are carefully placed for visual appeal (radishes, dill, microgreens)
- Composition: The layout follows aesthetic principles like balance and visual flow
- Styling: Props and elements are chosen to enhance the main subject
Flat Lay in AI Image Generation
When creating prompts for AI-generated flat lays:
- Specify “Flat Lay” in your prompt to indicate the composition style
- Include “Bird’s Eye View” to ensure the correct camera angle
- Describe the background surface (marble, wood, white, etc.)
- List all elements you want included in the composition
- Mention lighting preferences (natural light, soft light, etc.)
Common Applications
Flat lay style is especially popular for:
- Food photography (as in our salmon sandwich examples)
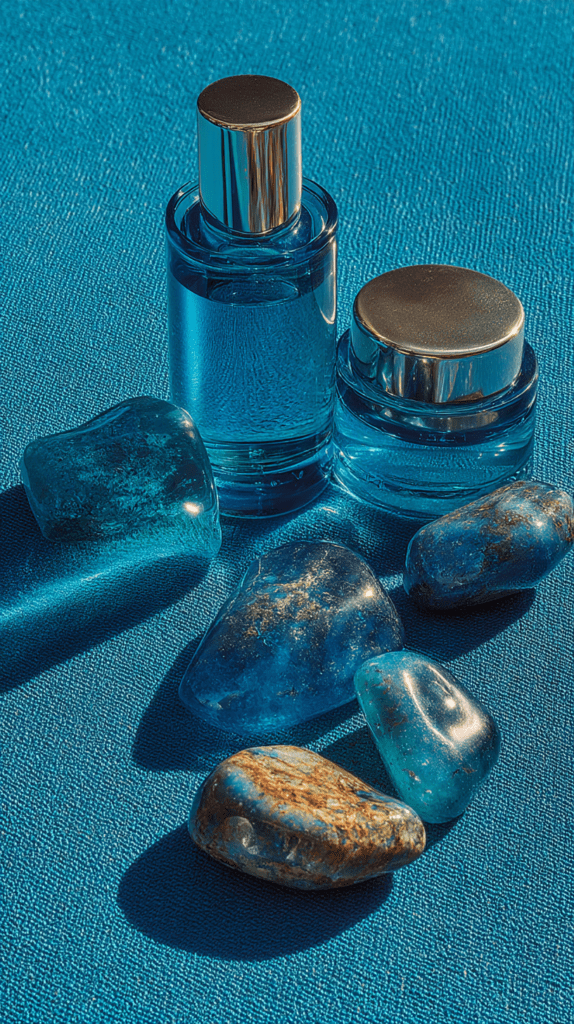
- Product photography for e-commerce
- Social media content (Instagram, Pinterest)
- Fashion and accessory showcases
- Desk/workspace setups
- Recipe illustrations
- Travel essentials
By understanding flat lay photography principles, you can create effective prompts that generate compelling visual content in this popular style, whether for marketing, social media, or other digital content needs.
Midjourney Prompt Structure
When you’re writing a prompt in MidJourney, it helps to start with the type of shot you want, then add the profile (like side, front, or three-quarter view). MidJourney puts more emphasis on the words at the beginning, so starting with these details makes a big difference in how the image turns out.
Here’s how you can structure your prompt
- Start with the type of shot (e.g., close-up, wide shot, portrait).
- Mention the profile or angle (e.g., side profile, three-quarter view, front view).
- Add any specific details or descriptions: (e.g., lighting, setting, style).
- Include any additional details: like colors or artistic effects toward the end.
Example
1.Prompt: Close-up portrait, dramatic lighting, soft pastel background, intricate details on the face, hyper-realistic, Kodak Portra 160

As you can see, this prompt focuses on a close-up shot of a lady’s face. In close-ups, details like the neck are not visible, as the frame zooms in on the face for greater detail.
1.Prompt: Close-up portrait, three quarter profile portrait of a woman, dramatic lighting, soft pastel background, intricate details on the face, hyper-realistic, Kodak Portra 160
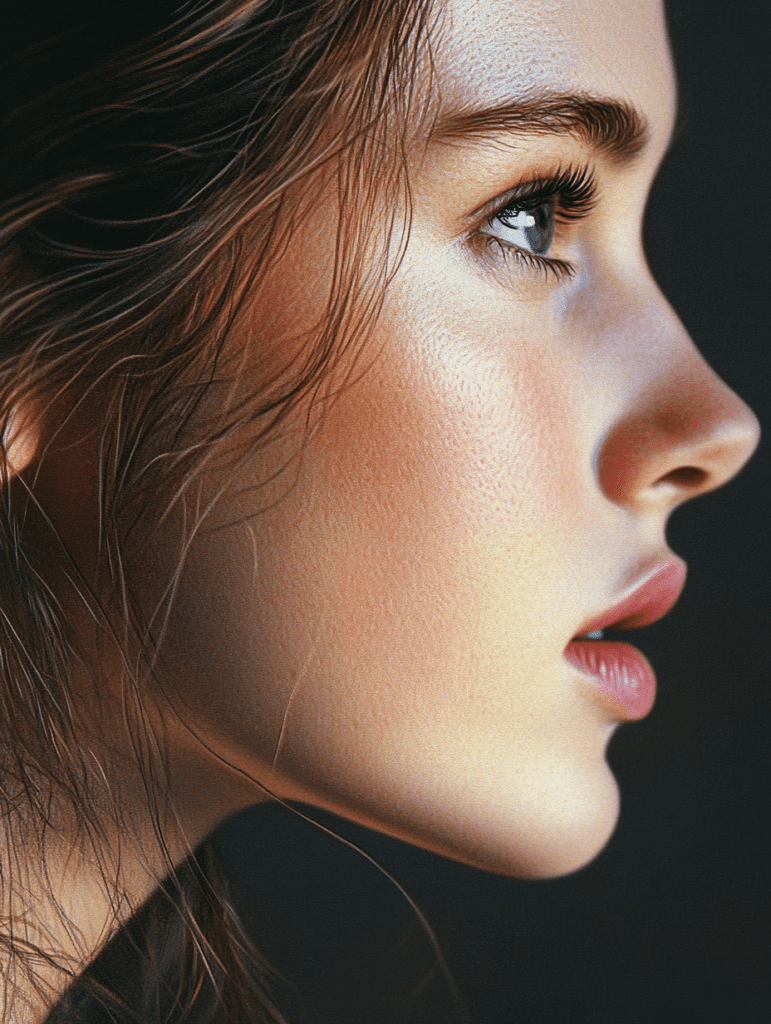
Notice that “close-up” comes first, followed by “three-quarter profile.” MidJourney gives more weight to the close-up part and thus captures most of the face while showing only a small portion of the neck.
2.Prompt: three quarter profile portrait of a woman, Close-up shot, , dramatic lighting, soft pastel background, intricate details on the face, hyper-realistic, Kodak Portra 160
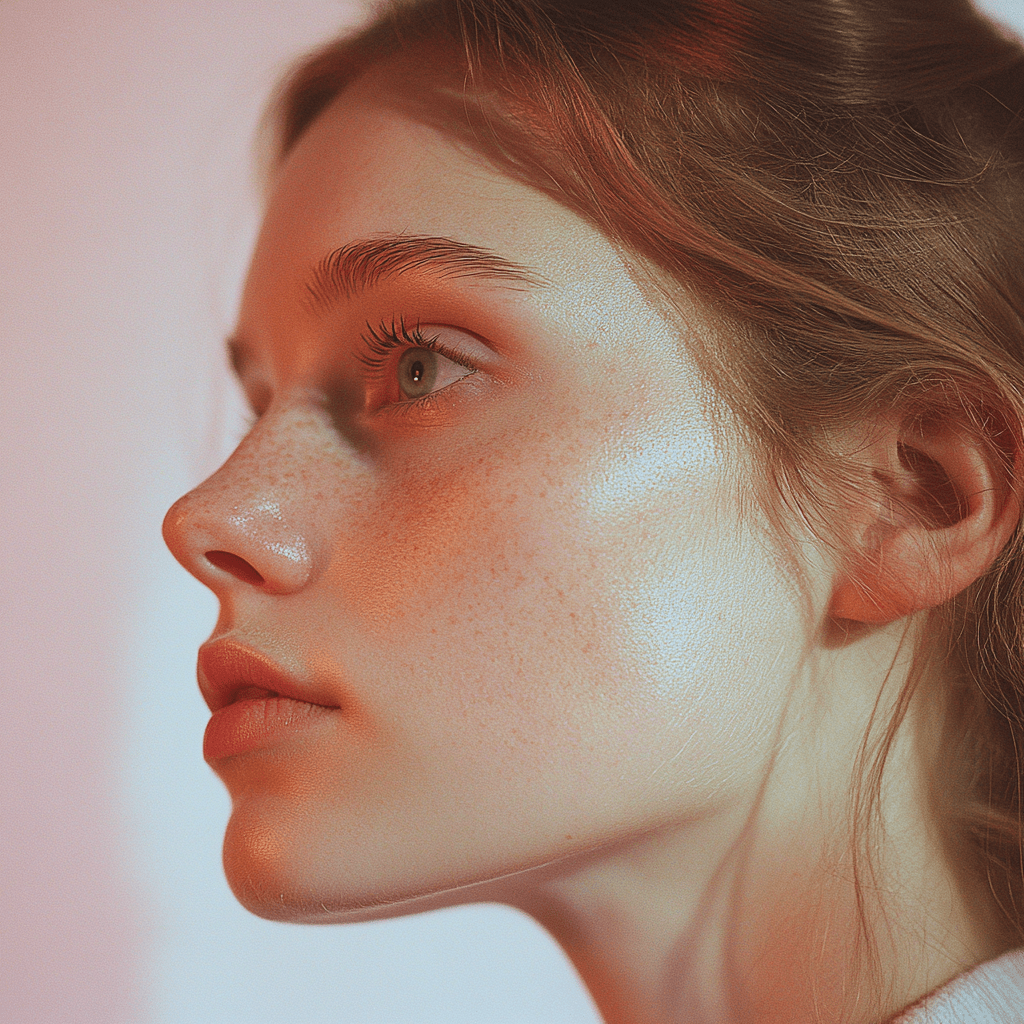
In this case, “three-quarter profile” is placed before “close-up shot,” so MidJourney prioritizes the profile, but still shows a close-up view of the subject. The result is a balance between the two elements, giving more prominence to the profile while keeping the close-up feel.
3. Prompt :three quarter profile portrait of a woman, dramatic lighting, soft pastel background, intricate details on the face, hyper-realistic, Kodak Portra 160
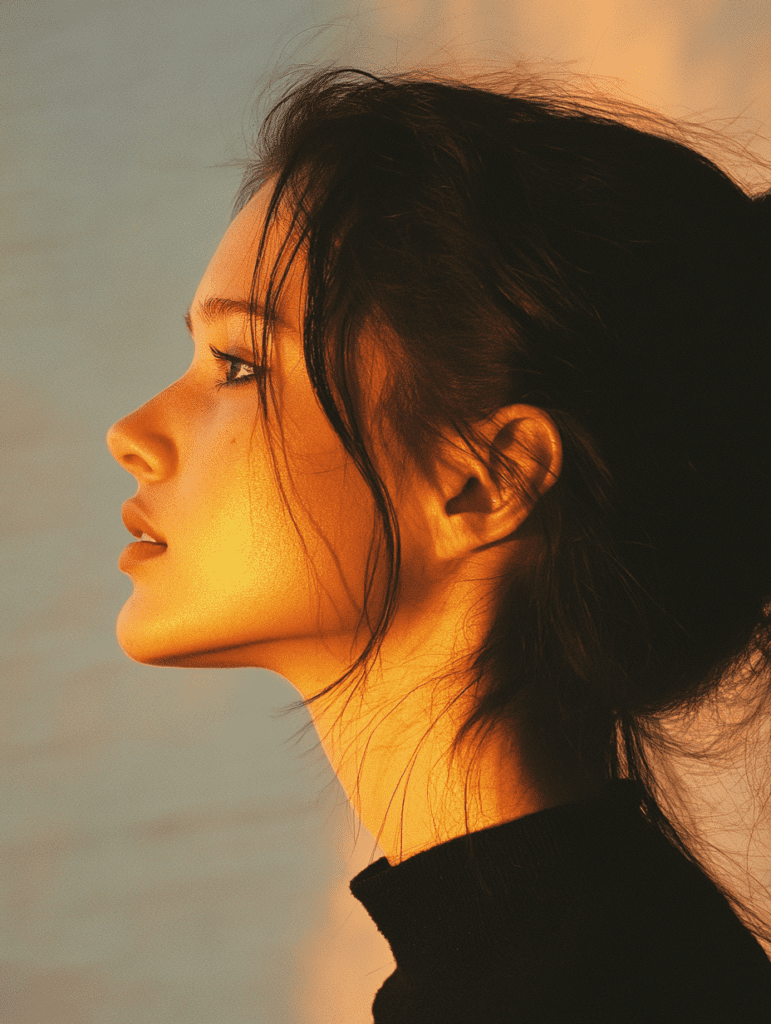
Here, only the “three-quarter profile” is mentioned, and it’s accurately reflected in the image. The neck and shoulders are visible, typical of a true three-quarter shot, providing more depth and dimension.
Chk the next prompt
4. Prompt:three quarter profile portrait of a woman, dramatic lighting, soft pastel background, intricate details on the face, wearing a gold chain in neck, Kodak Portra 160 , –ar 3:4

This prompt adds extra details, like the lady wearing a gold chain. By mentioning something specific like that, MidJourney focuses on a wider view to show the chain, resulting in a more complete three-quarter profile shot.
Conclusion:
Want to create prompts like these and get stunning, spot-on images?
Click here for the prompt structure to start crafting your perfect prompt!
Remember, how you structure your prompt in MidJourney really impacts the final result. By putting key details, like the type of shot or profile, at the beginning, you help MidJourney focus on what matters most.
MidJourney doesn’t always give an exact match—it generates four images, and sometimes only one or two will align with your vision. Be patient, keep practicing, and enjoy the creative process!
