Free Midjourney Prompt for Young Lady Riding Scooty at Night

Scooty
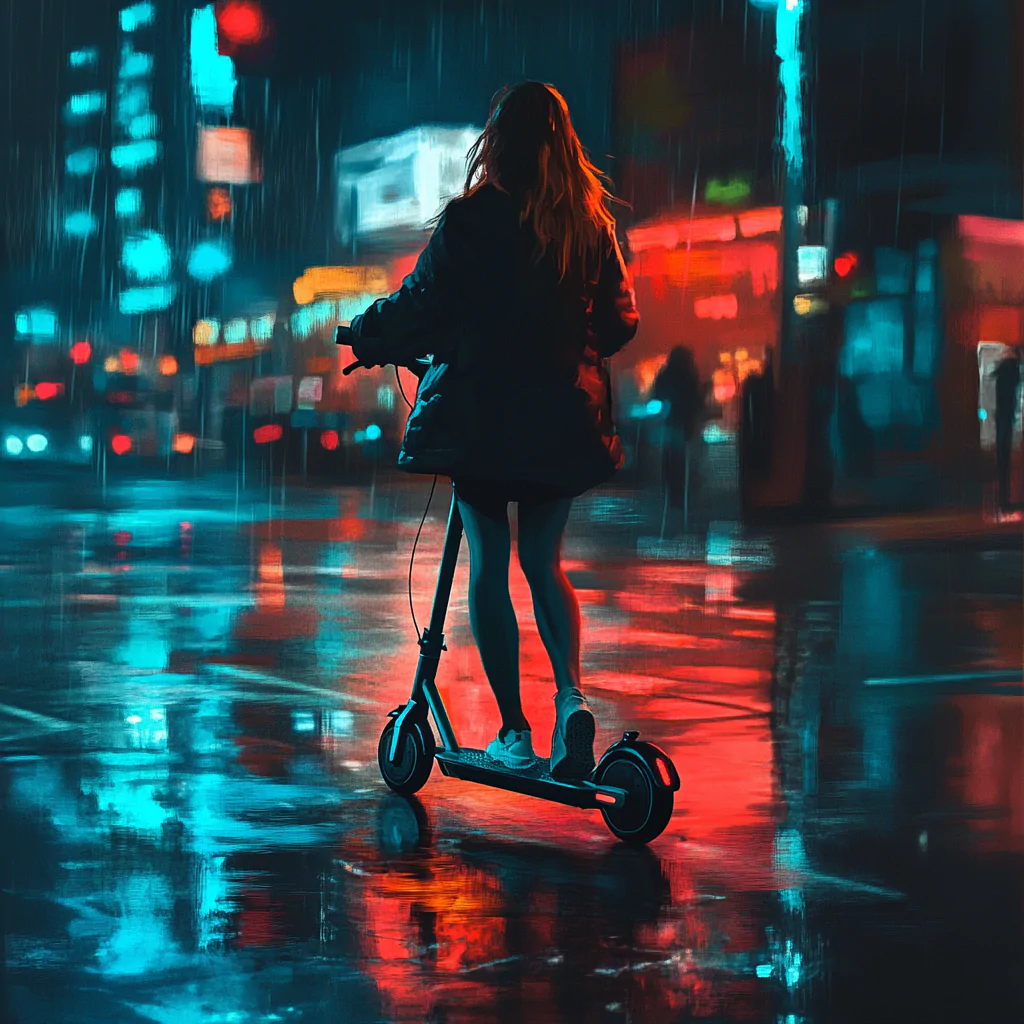
YOUNG LADY, RIDING SCOOTY AT NIGHT,BACKGROUND CITY LIGHTS

Free Midjourney Prompt for Young Lady Riding Scooty at Night

YOUNG LADY, RIDING SCOOTY AT NIGHT,BACKGROUND CITY LIGHTS
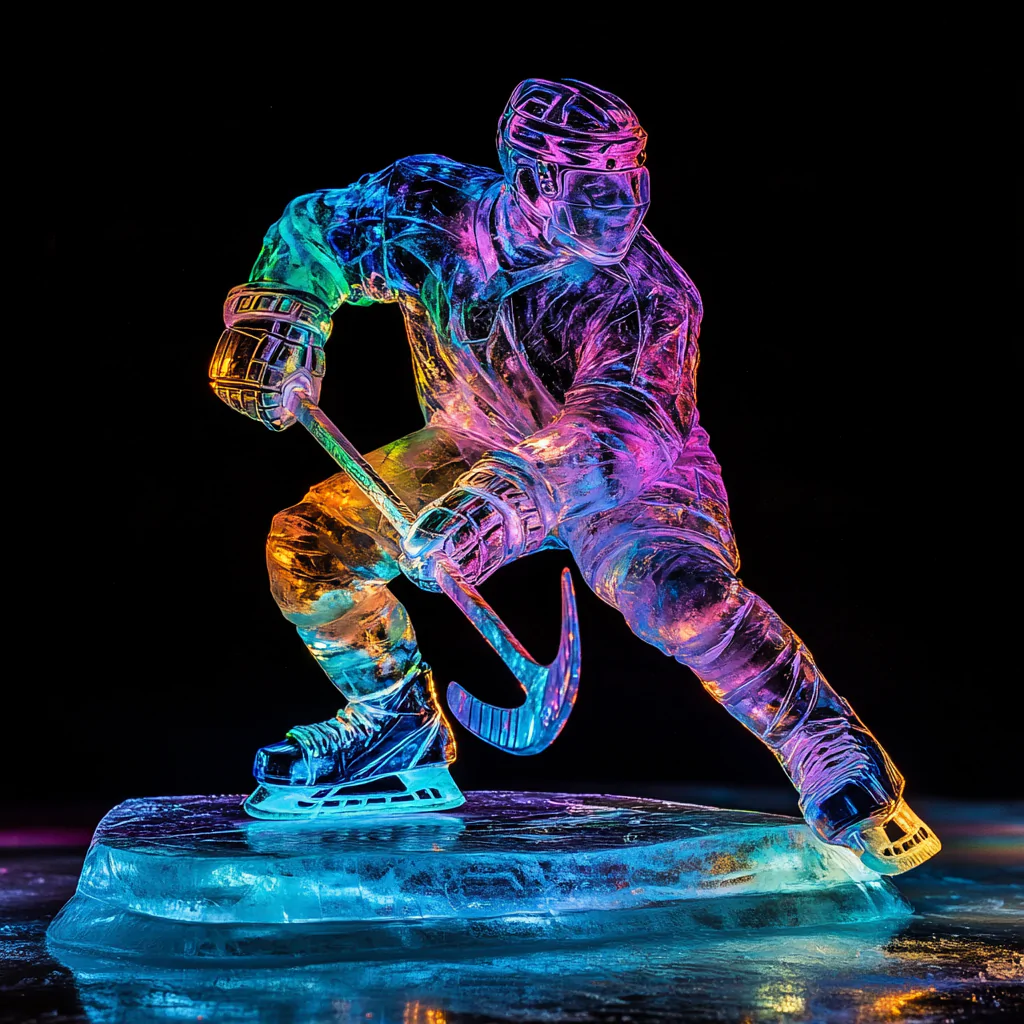
Free Midjourney Prompt for Ice Sculpture of Skater

Ice sculpture, playing ice hockey, the inside of the ice sculpture has colorful light coloring, black background
Kling AI is a powerful video generator model that offers creative solutions for content creators. With two versions—Kling 1.0 and Kling 1.5—you have the flexibility to create videos using both text-to-video and image-to-video options. In this blog post, we’ll break down the key features of both versions, pricing, and how the latest lip-sync option can take your videos to the next level.
| Feature | Kling 1.0 | Kling 1.5 | Kling 1.6 |
|---|---|---|---|
| Text-to-Video & Image-to-Video | Available | Available | Available |
| Aspect Ratios (16:9, 9:6, 1:1) in Text to Image | Available | Available | Available |
| Camera Movement | Available | Not Available | Not Available |
| Motion Brush | Available | Available | Not Available |
| Credit Consumption | Standard Mode: 10 credits; Professional Mode: 35 credits | Standard Mode: 20 credits Professional Mode : 35 credits per generation | Standard Mode: 20 credits; 40 credits/10 Sec Professional Mode: 35 credits/5 Sec 70 credits/10 Sec |
For Lip sync
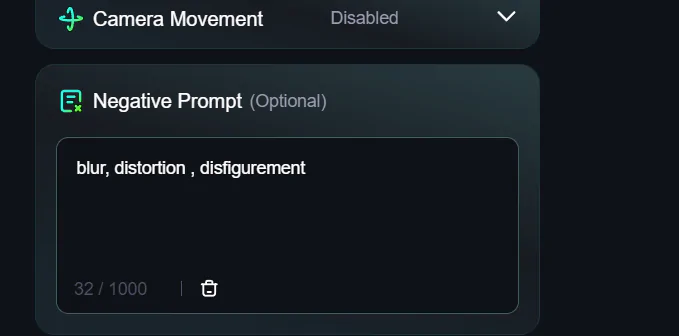
kling ai has an option of negative prompts let me tell u its useful . I always use it when I use Image to Video option.
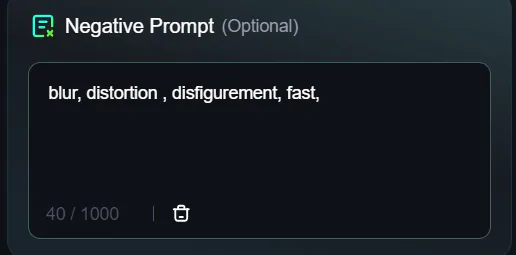
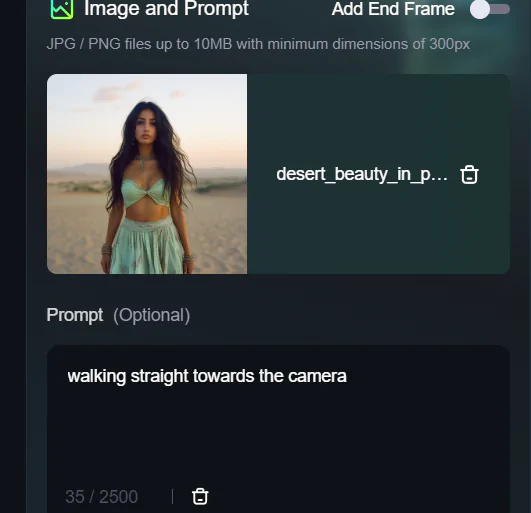
One important observation I made is when I tested two videos with the same prompt: “lady walking forward towards the camera.”
In the first video, the result was morphed. So, in the second attempt, I added “neck turned” as a negative prompt, and the video came out correctly.
Now, this isn’t a guaranteed formula, but if you encounter morphing issues in similar walking videos, trying the negative prompt “neck turned” might help.
While Kling AI is amazing with body movements and following prompts, sometimes, even when everything seems correct, the results may not turn out as expected. I believe there’s a bit of luck involved as well.
In my blog, I can’t provide a sure-shot formula to create perfect AI videos, but I upload the user cases of the videos I create, so you can get an idea of what works and what doesn’t.
The below are the negative prompts I always use in Kling ai
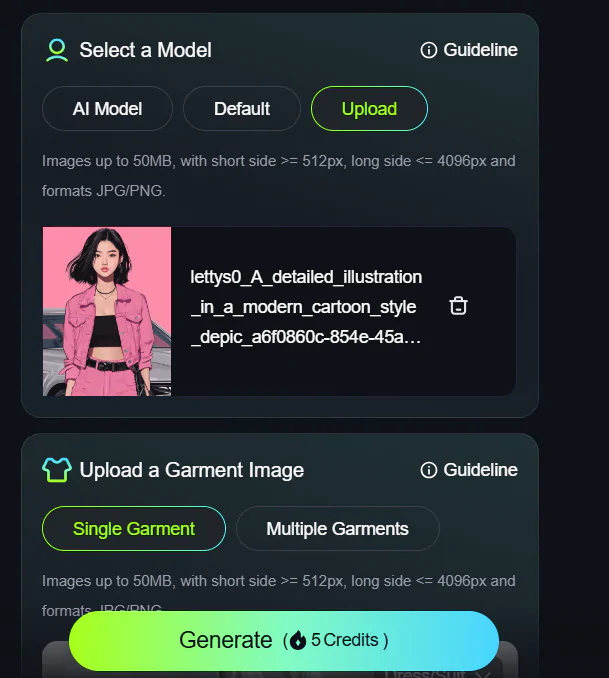
Kling AI has introduced their AI Virtual Try-On feature, and it’s perfect for showcasing your designs in a whole new way.
🛠️👗 You simply upload single or double garments, and the best part? The models are already built-in! No more need for organizing photoshoots or finding models – just upload your garments and select the model that fits your vibe.
What’s even cooler? The models can turn around to give you a 360° view of how the clothes look from all angles. It’s super handy for getting a realistic preview of your designs. ✨
Now, here’s the deal – this feature is available only for paid users. But if you’re serious about showcasing your creations professionally, this could be a great investment. I’ve been playing around with it, and it’s such a time-saver!
Chk below how to use it.
https://www.instagram.com/reel/DC9_k_vNRPz/?igsh=MWh4emI4cHQ2aDQ2ZA==
The video above, including the garments you see the lady changing into, was created using a combination of MidJourney and Kling AI. Let me walk you through the process step by step:
This workflow allowed me to seamlessly showcase different garments on the lady while maintaining a visually appealing result.
Check the print screens below to see how the process works in Kling AI.

Kling AI has just launched its latest 1.6 model, and it’s nothing short of groundbreaking. Packed with enhanced features, improved realism, and dynamic results, this version sets a new benchmark in text-to-video and image-to-video generation. Let’s dive into what makes Kling 1.6 such an exciting update.
While Kling 1.6 is a major leap forward, some features like Start/End Frame, Motion Brush, and Camera Movement are not yet supported in this version. However, the developers have assured users that these functionalities will be available in future updates.
If you’ve been using earlier models, you’ll immediately notice the difference with Kling 1.6. For example, in running animations created using the previous model, the characters appeared to “jump” unrealistically between steps. In 1.6, these motions are far more grounded and realistic, delivering a seamless experience. Whether you’re generating videos for professional projects or creative fun, Kling 1.6 will take your results to the next level.
Kling AI is continuously innovating, and we can expect even more powerful tools in the future. Features like Motion Brush and Camera Movement will likely add new dimensions to video generation, making it an even more indispensable tool for creators.
With Kling 1.6, AI video generation has taken a giant leap forward. Whether you’re creating short clips, dynamic animations, or experimenting with new ideas, this model ensures your output is nothing short of extraordinary. Ready to try it out? Dive into Kling 1.6 and experience the difference!
Chk below the videos created using KLING AI
Car Racing: Car racing
Kung Fu: A Kungfu master throws a punch, the air behind him moves in the form of a dragon
Tea Pot : A teapot suddenly hovers in the air, spinning and tilting to pour the tea into the teacup; the camera zooms in to focus on the fluidity of the tea flowing down.
Bear in River: The water is rushing, the bear holds the stick tightly, the duck sits the stick, and they walk towards the shore together
All the videos are created using Kling AI 1.6 Standard Mode
Image 1: Girl looks up in the sky
Image 2: In the frame, a young couple turns to face each other, embraces, and gently kisses, with smiles of happiness on their faces
For this I created the image in midjourney and then used kling 1.5 professional mode to genrate the video.
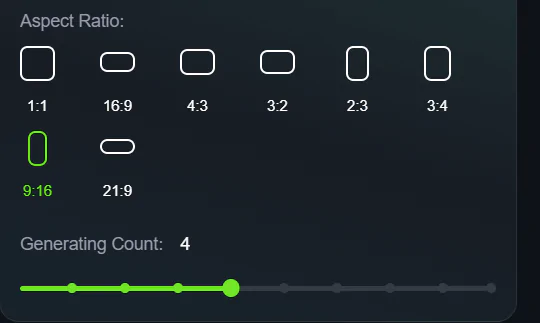
You can customize the Aspect Ratio (AR) for your images, with options like:
Select the number of images to generate from the same prompt for added convenience.
Reference Screenshot: (Refer to the provided screenshot for AR selection and image count options.)
Let me share an eg
Kling AI Prompt:
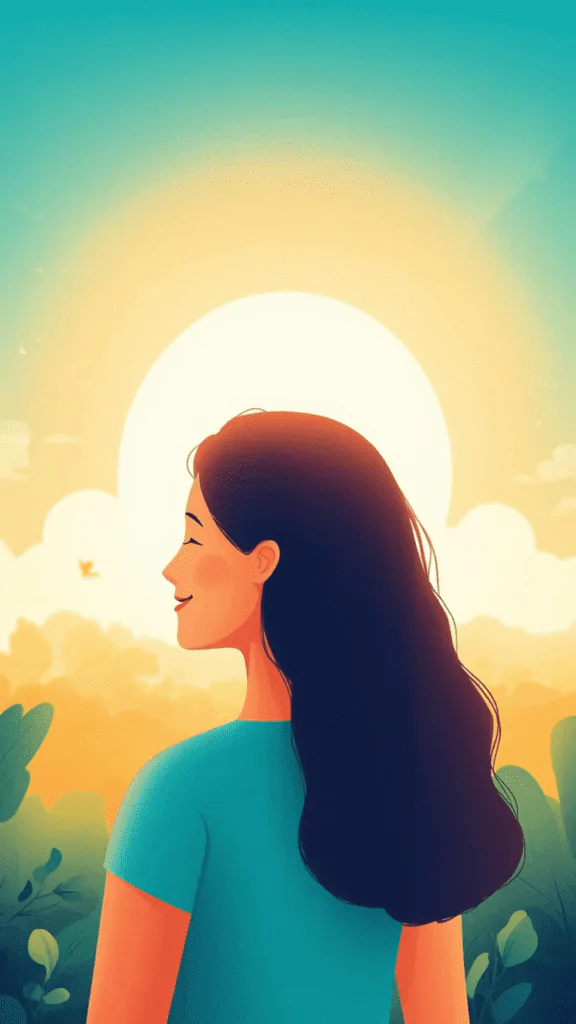
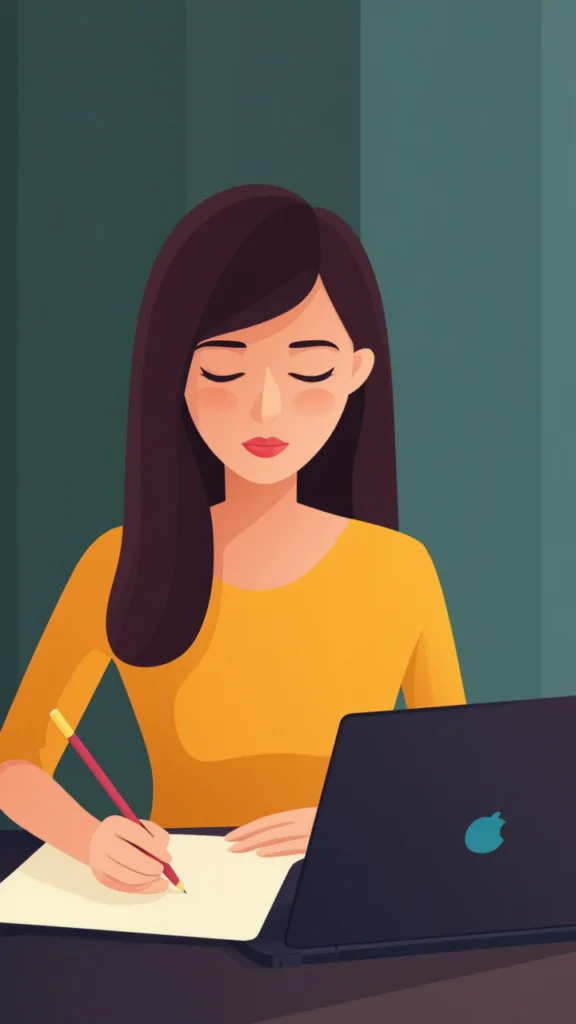
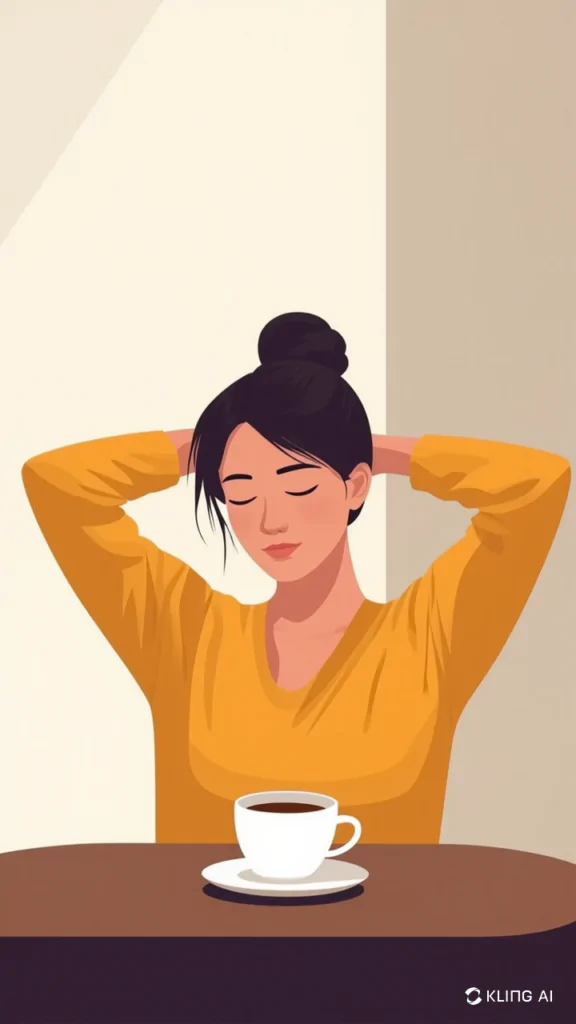
This viral video of a cat chopping vegetables and talking has gained a lot of attention! Let me walk you through how I made it. The complete workflow is shared below.
Workflow Breakdown
Chopping Video Prompt
An orange tabby cat wearing a striped apron, actively chopping onions on a wooden cutting board in a bustling Asian street market. The cat moves its paws smoothly while slicing, looking focused like a professional chef. In the background, people are walking and shopping at food stalls under colorful umbrellas. The market is full of life, with warm lighting and a vibrant atmosphere.
(Note: Only the vegetable was changed in different clips; no other modifications were made.)
Soup Image Prompt (Using Kolors 1.5)
An orange tabby cat wearing a waitress dress, serving a bowl of vegetable soup. Close-up on food, background Asian street.
Steps for Creating the Soup Image Animation
Important Note
These advanced features (motion and lip sync) are only available in the paid plan. The free version does not include them.
These images are created in Midjourney and video in kling using the keyframe feature . For Midjourney Prompt click here.
Kling AI Prompt
Step 1: Upload the Frames
To create the transition, start by uploading the two images:
These frames will serve as the start and end points of your transformation.
Step 2: Keep the Prompt Simple & Specific
When working with Kling AI, it’s important to keep the prompt concise and to the point. Instead of over-explaining, simply direct the AI to create a smooth transition between the two frames.
Prompt to Use:
Smooth transition
This direct command tells Kling AI to generate a natural blend between the heart and the lady without unnecessary effects that might disrupt the visual flow.
I prepared these videos through a multi-step process:
First, I generated the base images using Midjourney with specific prompts about miniature workers cleaning a woman’s face.
Then I transformed these images into animated sequences using Kling AI with three different
Kling AI Prompt:
Prompt: (1) Miniature workers cleaning the face with foam and water dripping down as she smiles,
(2) Close-up of female workers in pink uniforms climbing on the face and cleaning with water and face wash, and
(3) Workers fixing the lady’s lips.
(4)In the last image where workers are applying blusher on the face I have not given prompt to kling .
I enhanced the video in CapCut by adding sound effects to complete the presentation
I prepared these videos through a multi-step process:
First, I generated the base images using Midjourney with specific prompts.
Then I transformed these images into animated sequences using Kling AI with one prompt.
Kling AI Prompt:
Prompt: Cat jumps and transitions to the plush toy
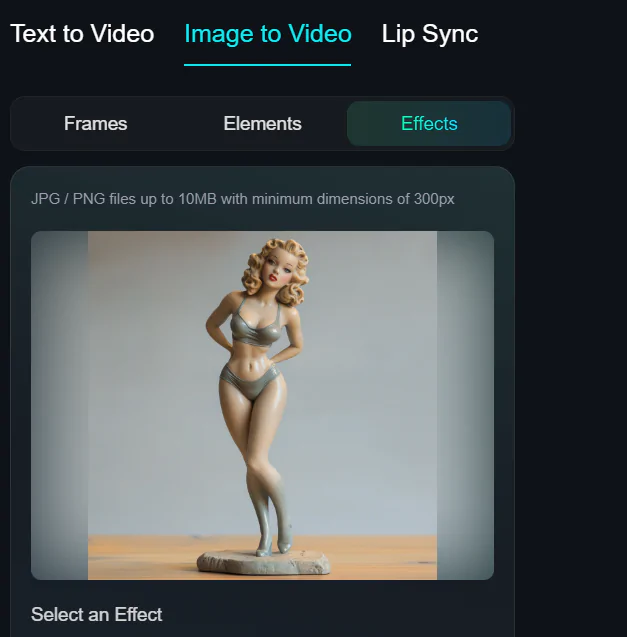
Workflow
For this video, I used the Fuzzy Fuzzy effect in Kling AI. In the attached screenshot, you can see the available effect options: Boom Boom, Mochi Mochi, and Fuzzy Fuzzy.
For this video, I specifically used the Fuzzy Fuzzy effect. You only need to upload a single image, and Kling AI will automatically generate a plush toy.
This feature is available exclusively in Kling 1.6 (New).
And background music is alreday in Kling AI.
Prompt: Chimpanzee dressed in a T-shirt and jeans, playing an electric guitar on a stage. The stage has a few instruments and a music player.
Watch how I created this magical moving artwork using three different AI tools.
Created image in Midjourney : Midjourney Prompt
I then animated it using three AI video creators with notable differences:
While all three preserved the original artwork’s style, Runway delivered the most impressive animation, bringing the night sky and glowing elements to life.
Used the same video prompt for all three AI
Video Prompt: kissing couple in Winter Rothenburg Ob der tauber, James rizzi style,night, the light glows as the background
This image I have created in Midjourney
I animated it in Kling AI without using any prompts, simply generating it in professional mode (Kling 1.6). As a result, the video appears zoomed in. I then created the lighting effect in CapCut.
These images and video both are created in Kling AI
Prompts for Images
Image 1: Close-Up Shot, Centered View, Vector Art, Retro, Fashion, Eye Level, pretty amigurumi doll, straight hair, mauve rectangle spectacles, looks like a real life lady, spaghetti dress, background , Soft Light, Kodak Portra 400 –ar 9:16
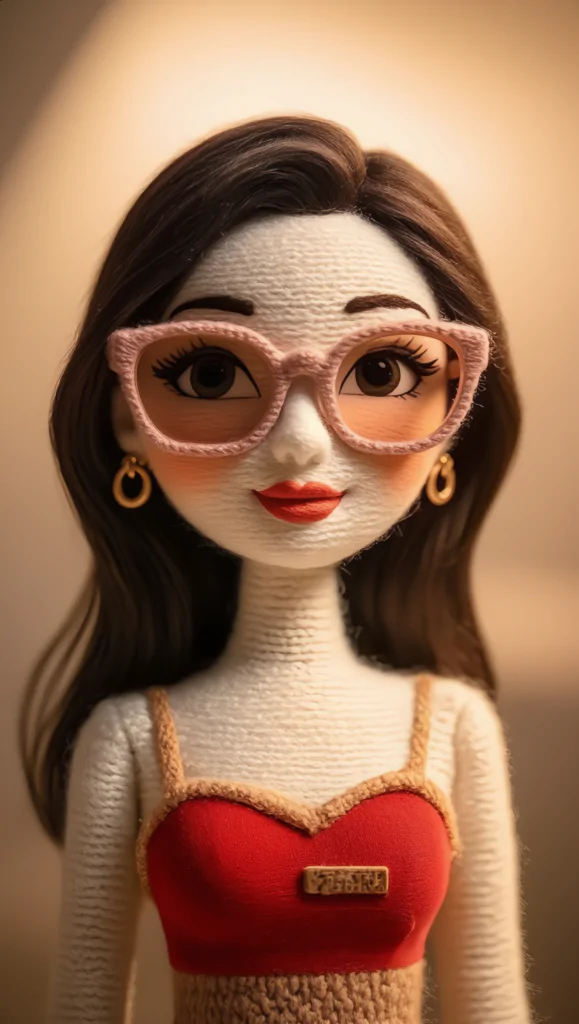
Image 2 : There is an option of refence in kling ai i selcted the original image as reference and gave the next prompt (the lady is practicing yoga)
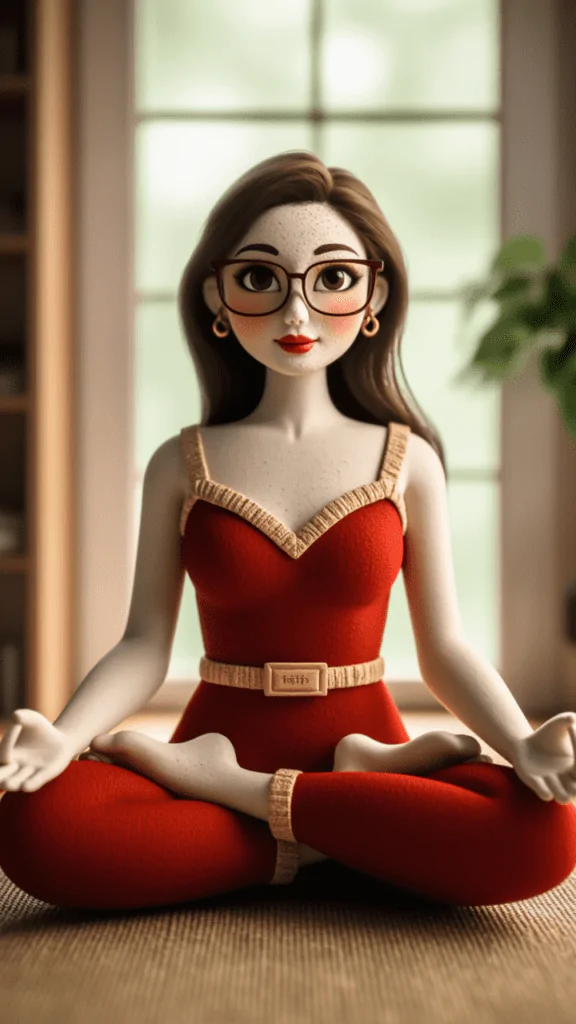

Image 3 : THE LADY IS DRINKING ORANGE JUICE
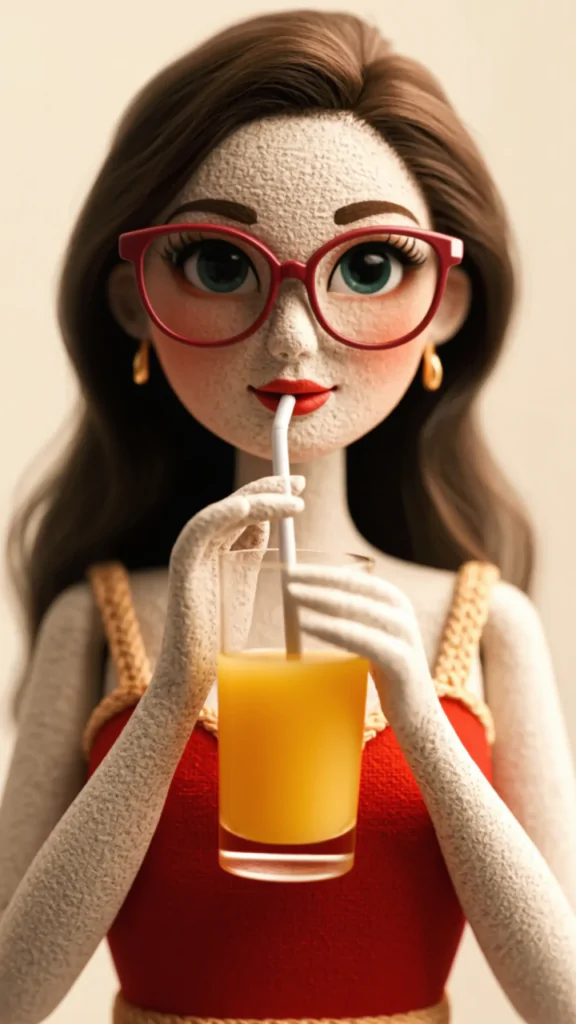
Image 4: THE LADY IS DRIVING TO OFFICE
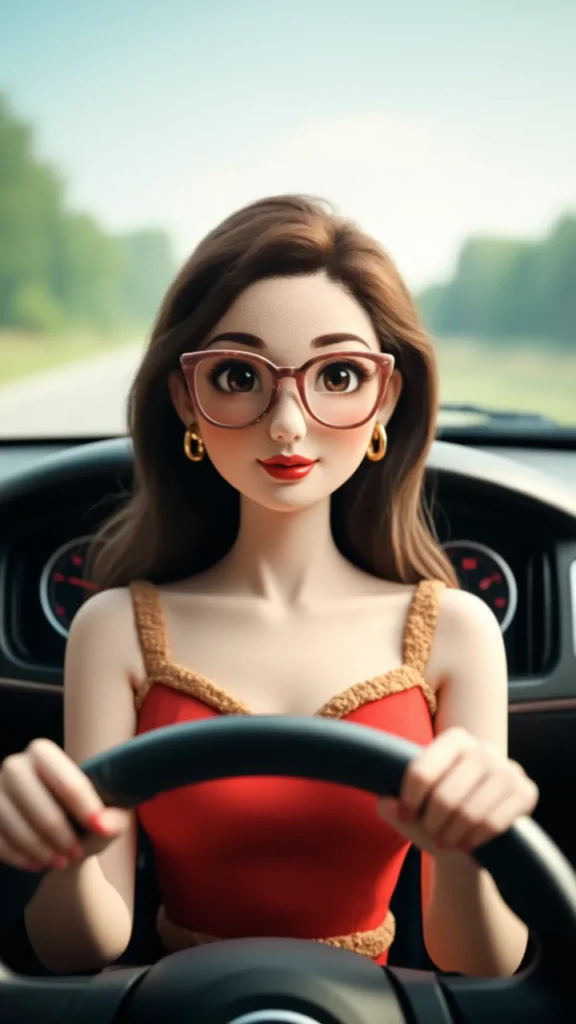
Image 5:LADY IS ENTERING THE OFFICE
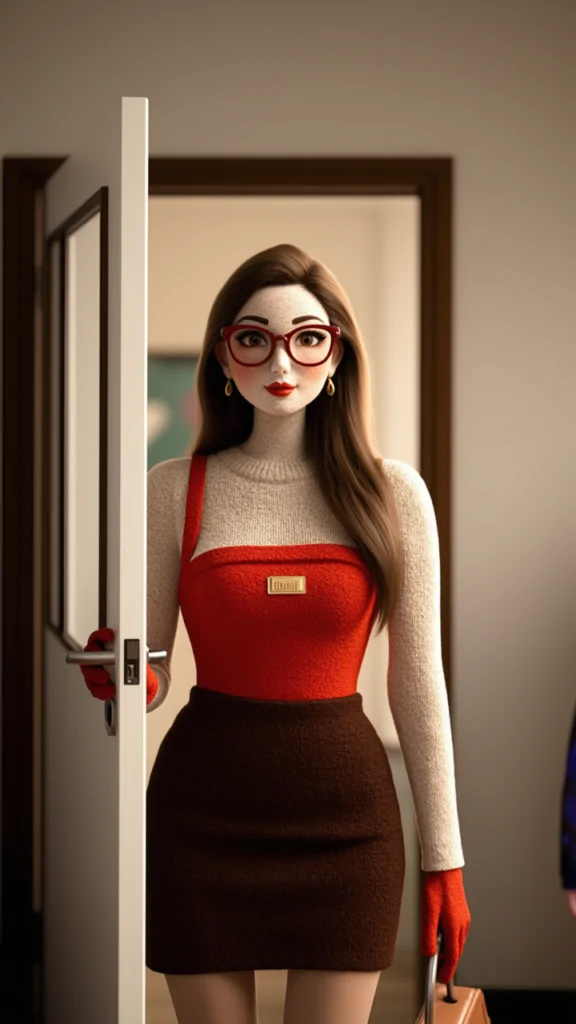
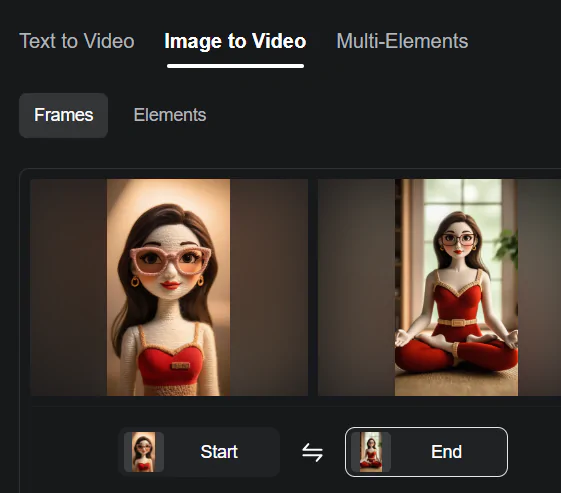
For this video in Kling, I used the Image-to-Video feature. I uploaded the first image, selected the second image as the transition target, and set the prompt to ‘smooth side transition’ for all transitions to ensure a consistent and fluid visual flow.
Finally edited the videos in capcut
Prompt 1: The man is running in treadmill, static camera
Prompt 2: The man is running in treadmill, static camera
Prompt 3: Sushi pieces ROTATING ,CASCADING in gentle downward sequence.
Prompt 4: Momo pieces ROTATING ,CASCADING in gentle downward sequence.
Prompt 1 Juice Can : Juice can spinning
Prompt 2 Lip Balm : lip balm , water droplets SPLASHED AROUND , bubbles floating
Prompt 3 Juice Can : lip balm , water droplets SPLASHED AROUND , bubbles floating
Prompt 4 Moisturizer : moisturizer jar is spinning
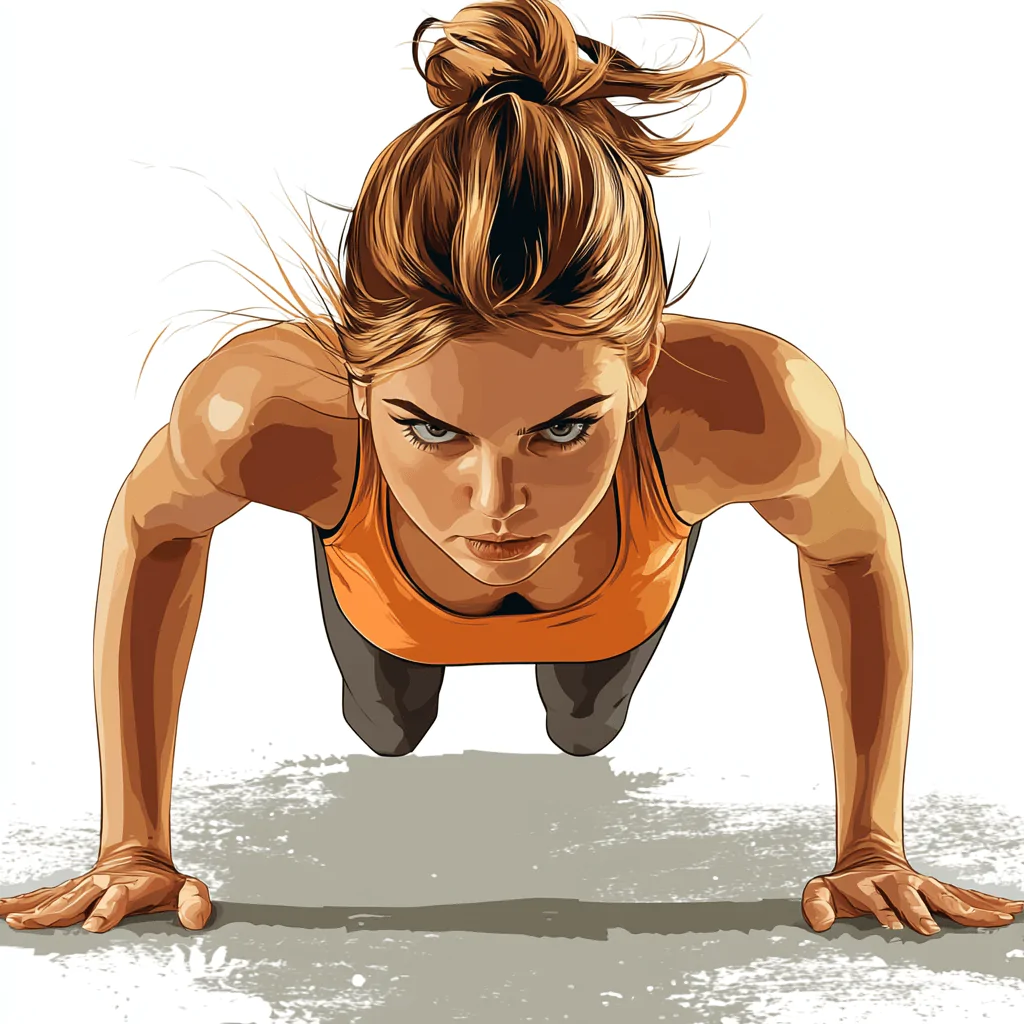
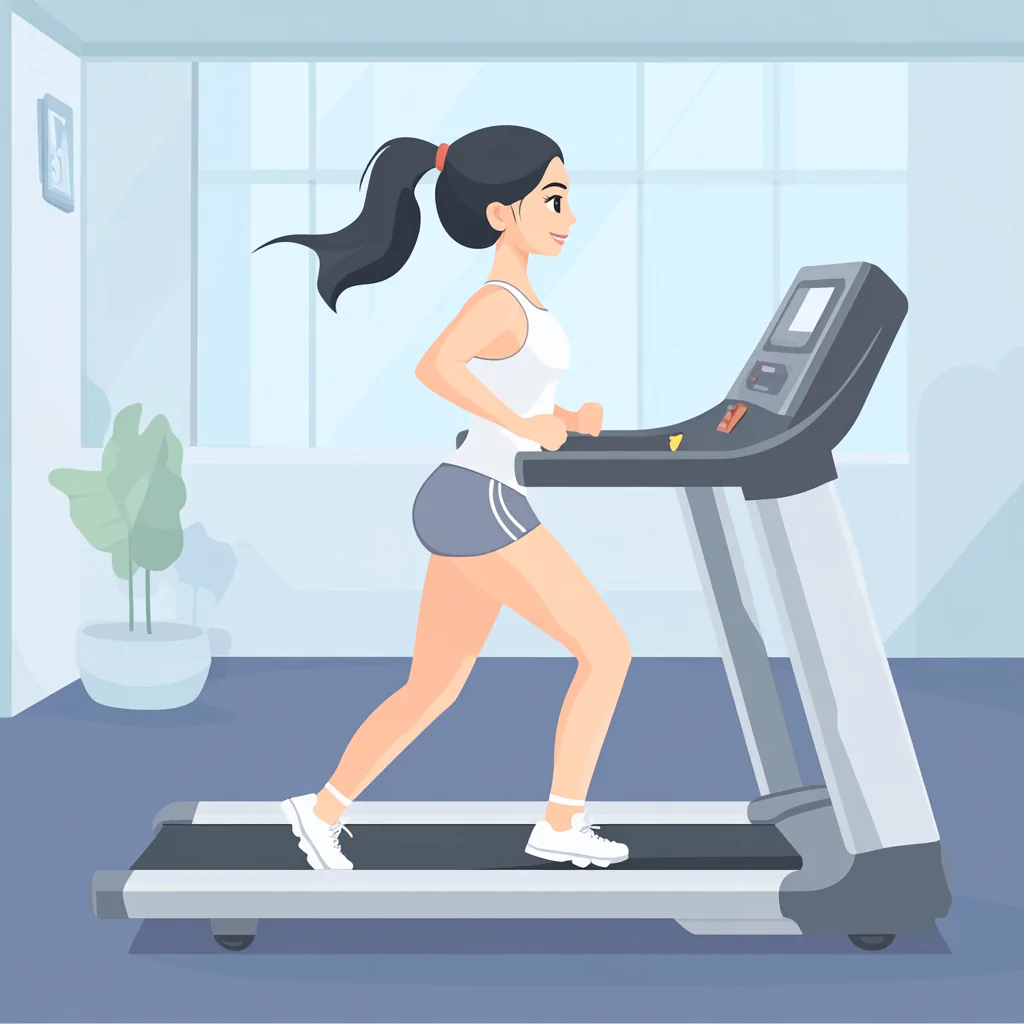
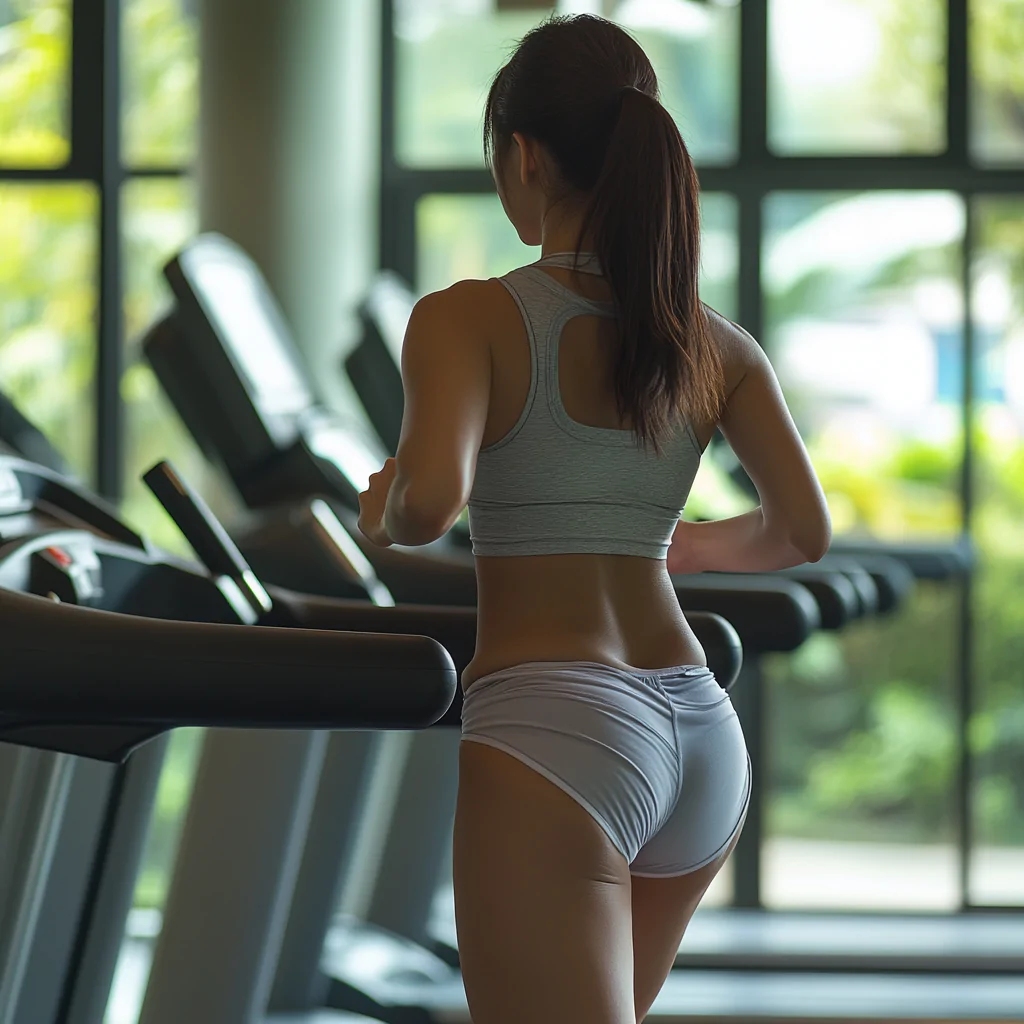
vector, asian women, running on the treadmill
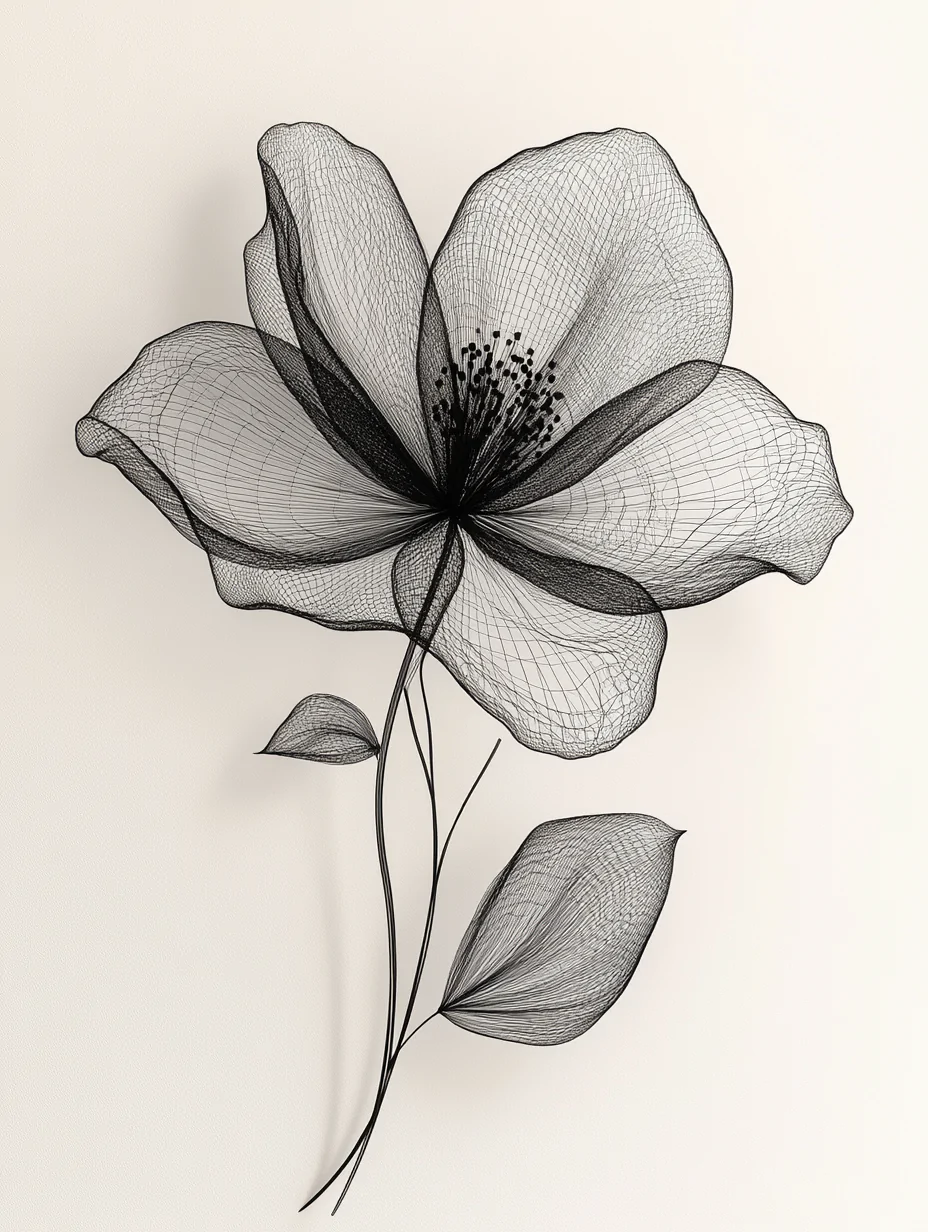

3D geometric wireframe of a flower, intricate veins,black lines on a light gray background
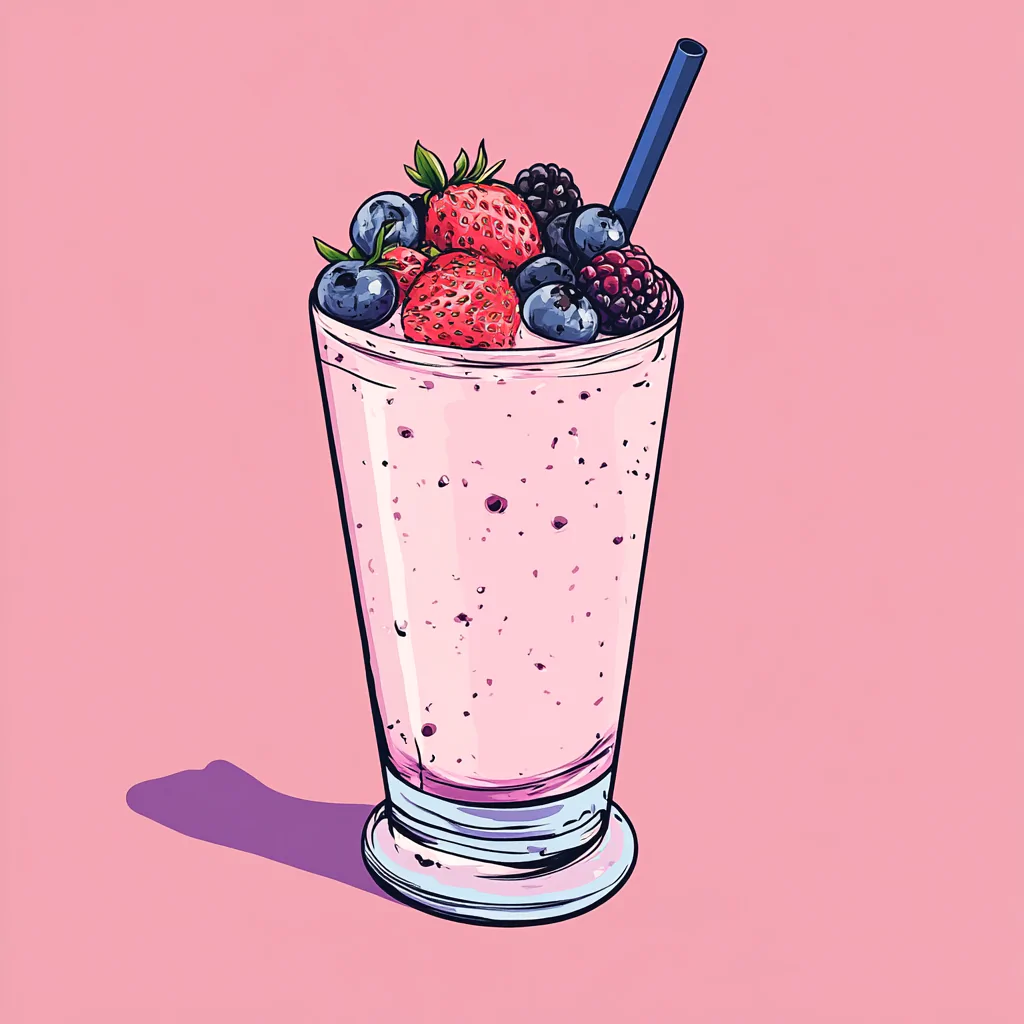
Free Midjourney Prompt Pop Art Smoothie

pop art, apple smoothie, Topped with vibrant strawberries b,lackberries, blueberries>
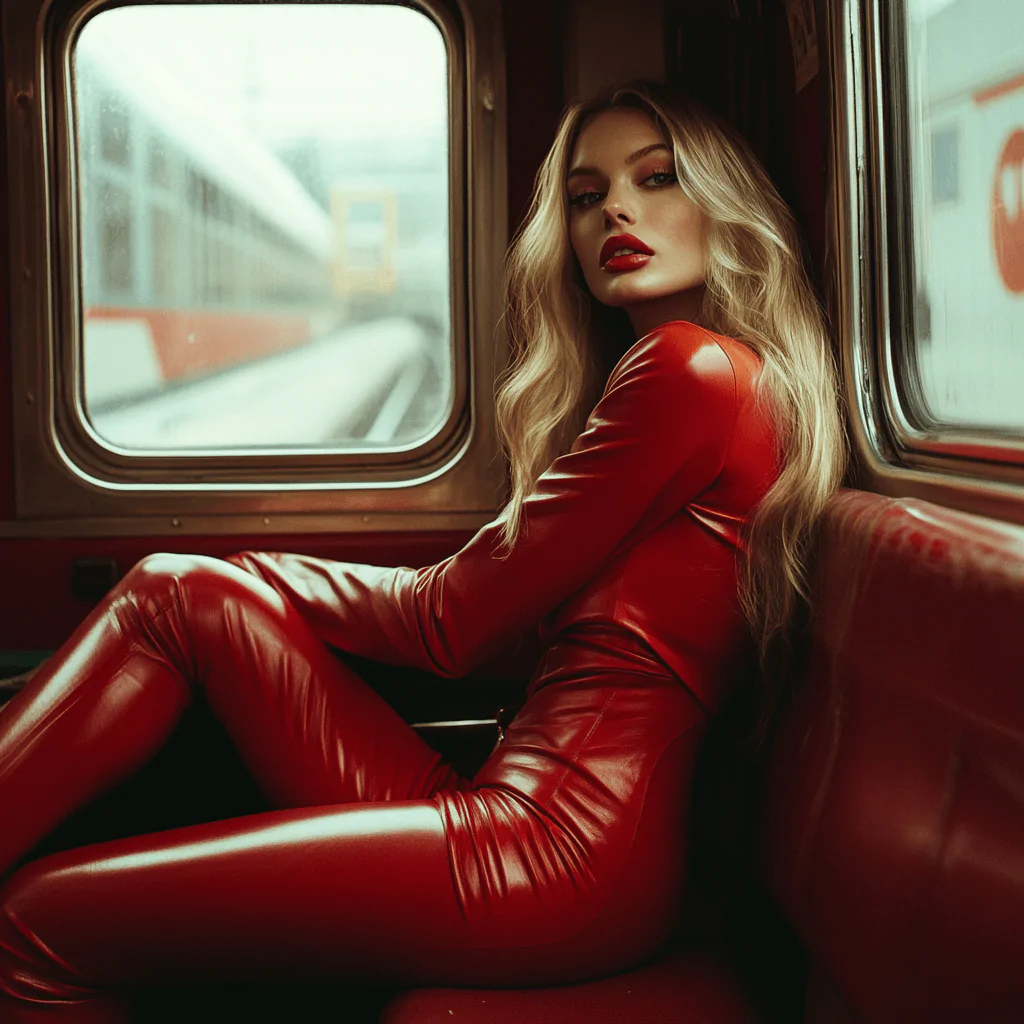
KLING AI continues to push boundaries in AI video creation with its latest upgrade, “KLING 1.5.” This release brings significant improvements in video quality, user control, and additional features that enhance creativity. Let’s dive into the key updates and features that come with this release.
The standout feature of KLING 1.5 is its ability to generate 1080p HD videos, optimized for large screens and delivering sharper visuals. This is a step up from the previous 720p resolution in the earlier model, and this upgrade comes at no additional cost. With improved aesthetics, more fluid motion, and enhanced text responsiveness, users can now create stunning visuals with professional-quality output.
One of the major enhancements is the introduction of the “Motion Brush,” allowing users to take their creative control to the next level. This feature lets you precisely define the movement of elements within your video, whether it’s characters, objects, or any other element. Now, with better control over the dynamic elements in your scene, you can ensure smoother and more natural-looking motions. This is particularly useful for creating intricate animations or complex scenes where multiple elements interact.
| Feature | KLING 1.0 | KLING 1.5 |
|---|---|---|
| Video Resolution | 720p in Professional Mode | 1080p HD in Professional Mode |
| Motion Brush | Supported in “Image to Video” | Not yet available but will be added in future upgrades |
| Camera Control | Supported in “Text to Video” | Not yet available but will be added in future upgrades |
The Motion Brush feature allows users to select up to six elements in an image—be it people or objects—and define their motion trajectories. This gives unparalleled control over how these elements move within the video, creating a more immersive and dynamic experience. Users can also assign static areas to certain elements for better control over the overall composition. This feature supports various aspect ratios, from landscape to portrait, ensuring flexibility for different creative needs. The maximum video length is currently capped at 5 seconds for these dynamic elements, but this is perfect for quick and engaging content.

Let me explain you how I did this
The basic steps remain the same: you login to Kling and upload the image. As u scroll down, you can see the draw motions option, click on that.

Motion Brush
Refer the above video to understand how to use Motion Brush
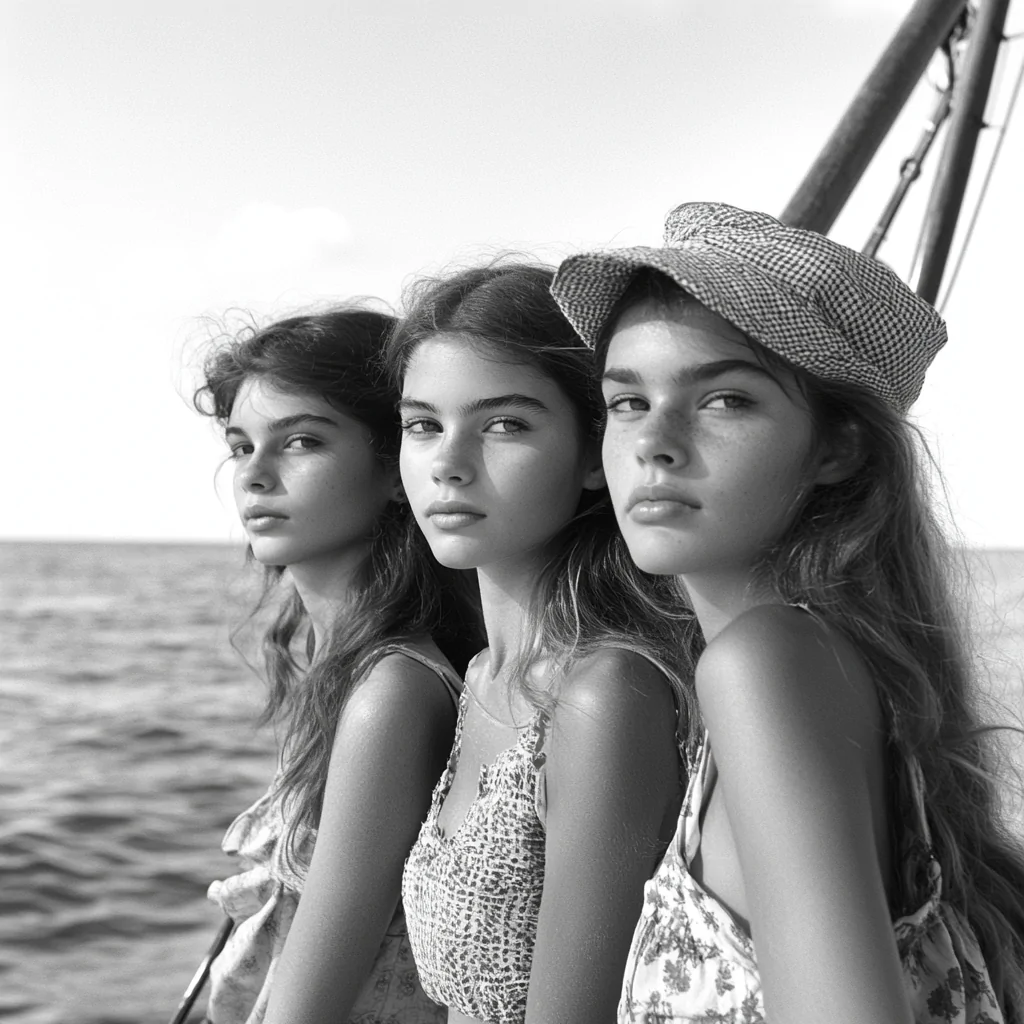
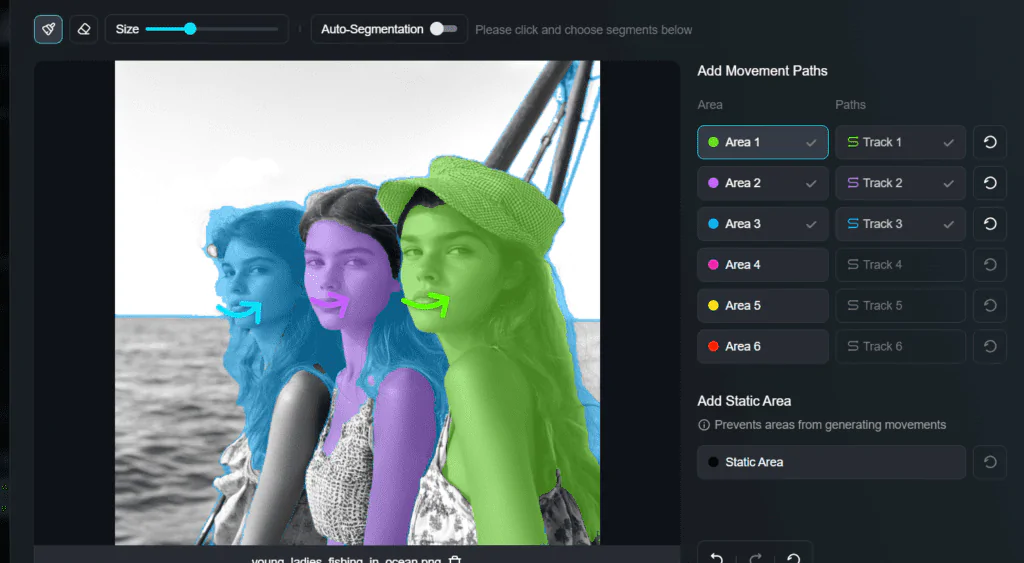
In this you can see i have selected three areas . Select Area 1 i.e image 1 and then track 1 to draw in the area where you need the movement.
Similar things you continue with other two images.
